Capturing the Dancing Fairies
The Complete Guide to Aurora Photography
Auroras top the bucket lists of travelers in recent years due to rumors since last year that they are getting more difficult to see for years to come. This mystical, unpredictable wonder of the nature makes a challenging photography subject. A successful shot of it requires a suitable location and weather, as well as the right equipment and techniques. Photographer Arnold Lee started chasing the auroras four years ago and had made multiple visits to Yellowknife in Canada to take photos of the splendid auroras. Let’s check out the shooting tips and travel experience that he has for us!
Recommended Location for Auroras - Yellowknife
Yellowknife is an inland, semi-desert region in Canada. It has a lower level of cloud cover compared to Northern European countries such as Iceland and Finland which are close to the sea, resulting in a higher chance for spotting the auroras. The best aurora viewing seasons are between March to April and August to October every year. To make your journey more rewarding, you can also include Banff, Rocky Mountains and other nearby big cities in Canada in your itinerary. Although Yellowknife isn’t really at the northernmost end geographically, temperature in winter can drop down to -40°C. Layered clothing is recommended due to the huge temperature difference between the indoor and outdoor environments.
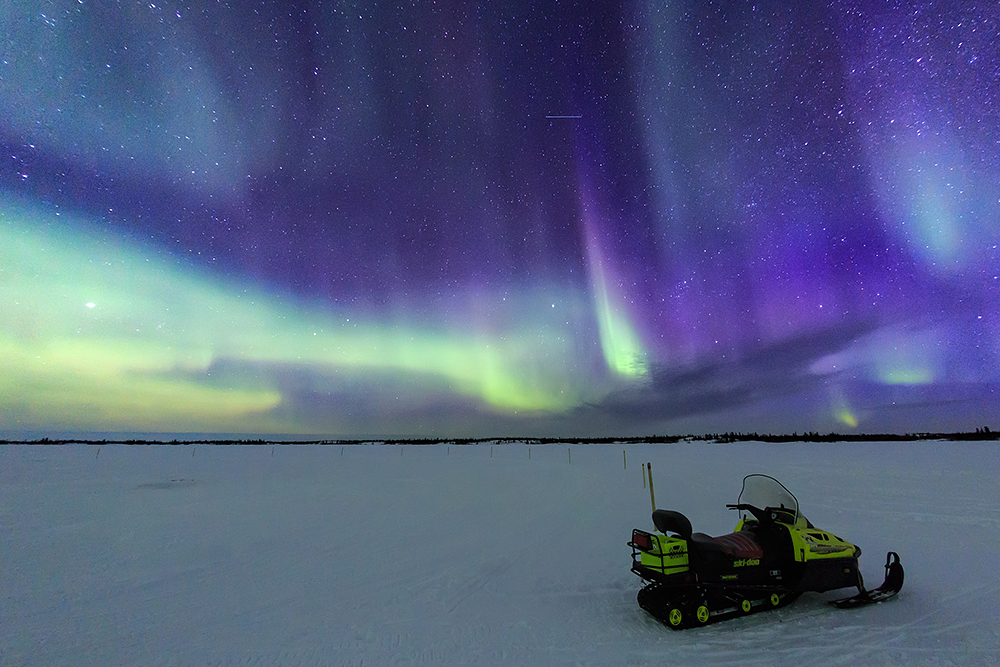
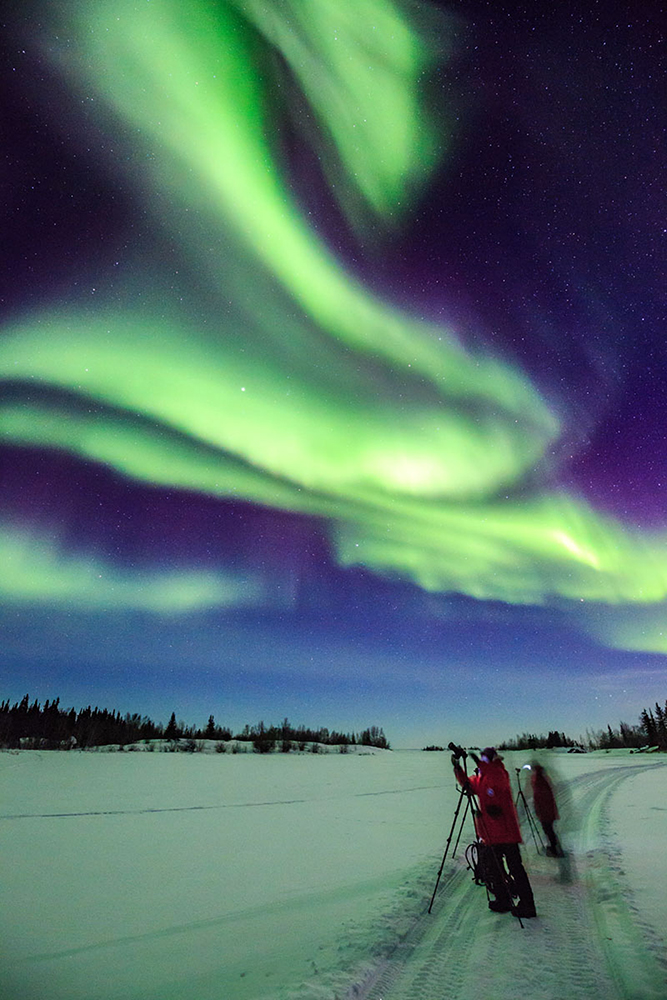
You need to wear professional clothing to keep you warm especially when you go out at night chasing the auroras on a snowmobile. Join a local tour and they will provide you the necessary clothing
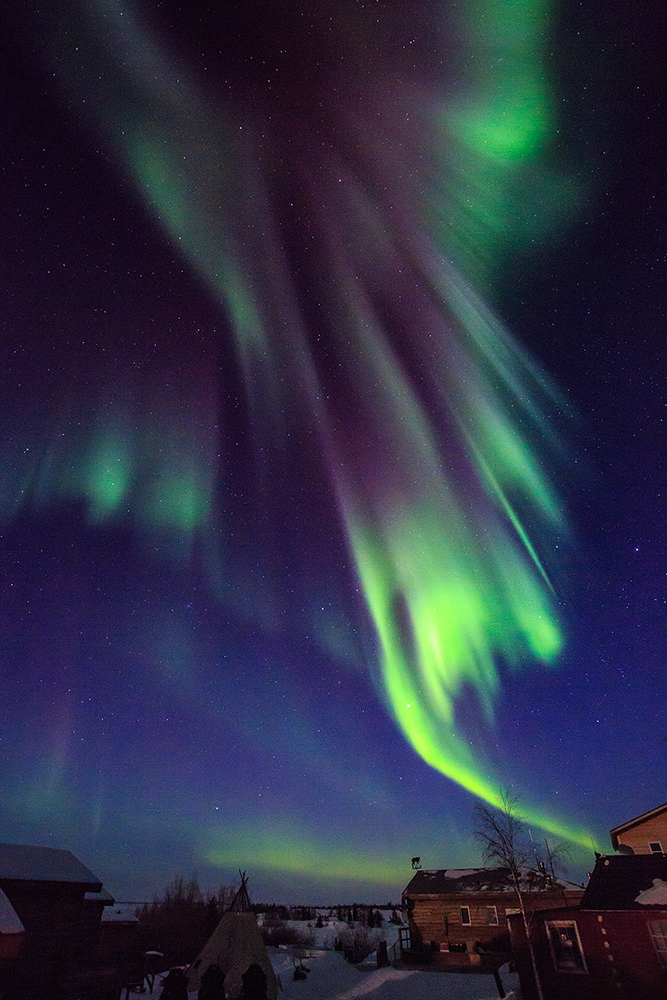
Photo by Arnold Lee
EOS 5D Mark III • EF 15mm f/2.8 Fisheye • 13s • f/4 • ISO 6400
Photo by Arnold Lee
EOS 5D Mark III • EF 15mm f/2.8 Fisheye • 13s • f/4 • ISO 6400
Choose the Right Equipment and Plan Well on Battery Life
Even a digital compact camera is now capable of taking photos of auroras as long as it supports manual shooting mode and manual focusing. In particular, the built-in Star Shooting Mode of PowerShot G7 X Mark II makes it more convenient to take photos of auroras. However, the large-size sensor, higher low-light shooting quality and the dust- and water-resistant design of a full-frame DSLR camera make it the preferred and safer choice when it comes to photographing auroras in the extreme lands. For lenses, Arnold opted for lenses that are simple and convenient to use. “Auroras are ever-changing and huge. To take spectacular photos of them sweeping across the sky, an ultra-wide angle lens or even a fisheye lens is preferred as they can include the entire aurora in the composition. Besides, the lens should have a large aperture since auroras are dim photography subject.”
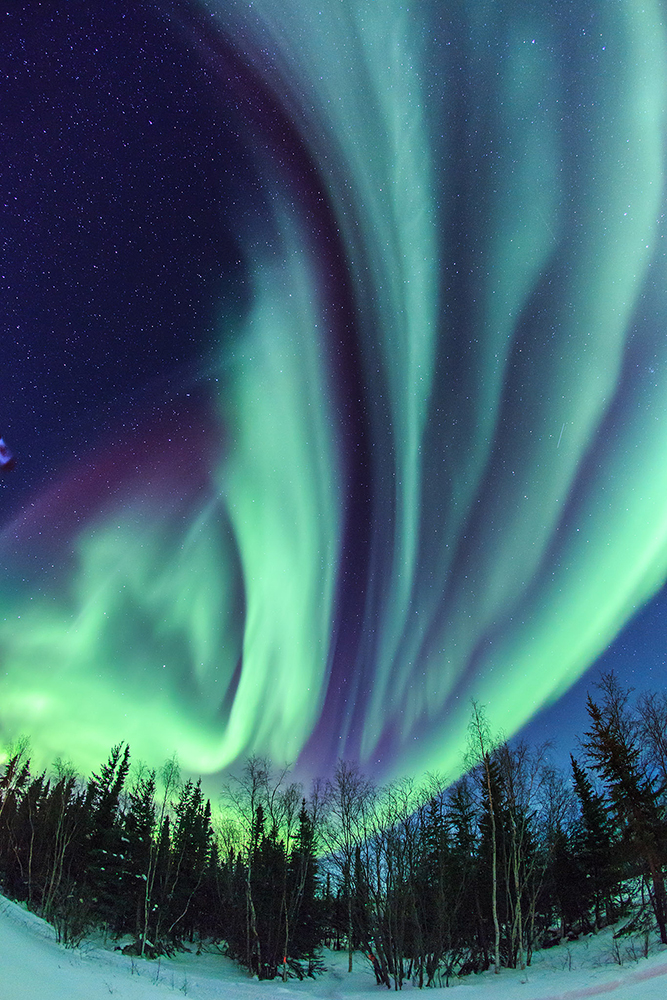
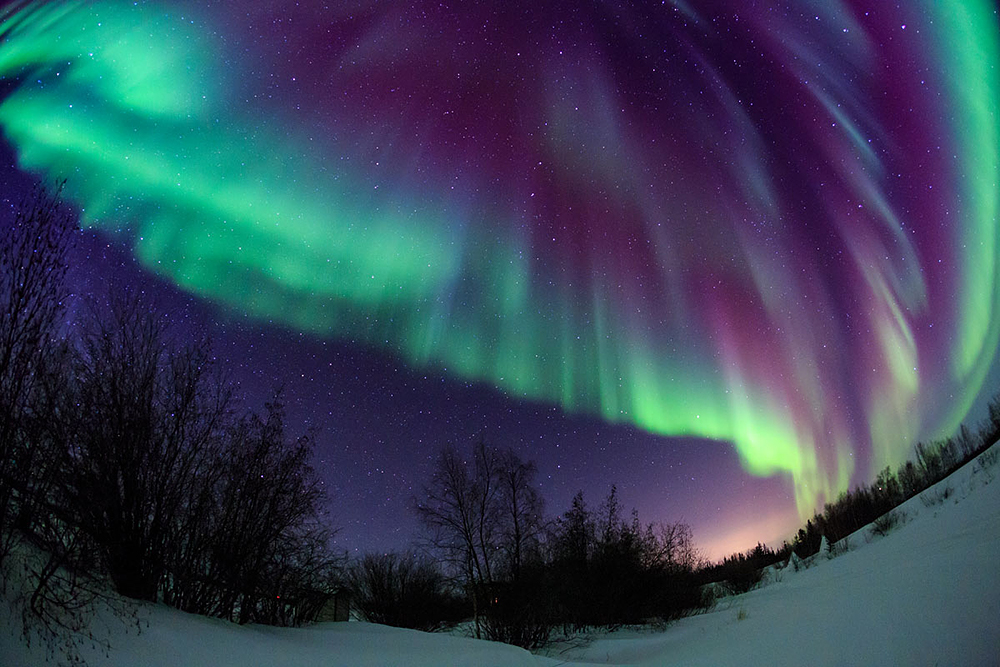
The magnificence of aurora can be captured with a fisheye lens
Photo by Arnold Lee
EOS 5D Mark III • EF 15mm f/2.8 Fisheye • 13s • f/4 • ISO 2500
Photo by Arnold Lee
EOS 5D Mark III • EF 15mm f/2.8 Fisheye • 13s • f/4 • ISO 2500
Arnold added, “The battery life will go down significantly when shooting in extremely low temperatures. Depending on how well the battery works in cold conditions, in general the operation time of a digital compact camera is about 30 minutes, and 45 minutes to 4 hours for mirrorless or DSLR camera. So for a night’s shooting, we need to bring 2 to 4 spare batteries.” In addition to camera, a tripod is also indispensable. However, never bring a tripod that is made with aluminum. “This is because your skin will stick to the metallic surface of the tripod if you forget to wear a pair of gloves out in the freezing night. Tripod made with carbon fiber which contains extremely tiny holes in it can lessen the problem.”
Long Exposure to Perfectly Capture the Splendid Auroras
Aurora is a pale green band of light to the naked eyes. In photography we can make it more spectacular by using long exposure. For camera settings, a large aperture (such as f/5.6 or larger) is preferred in order to let in more light from the night sky. Shutter speed should be between 10s to 20s and use a high ISO setting (ISO 800 or above). Arnold reminded us that the figures should be adjusted according to the actual situation. If you are so fortunate to come across the aurora explosion, use a faster shutter speed to accommodate the increase in brightness.
During an aurora explosion, purplish-red light can be seen and the light intensity is bright enough to light up the sky. We can adjust the shutter speed to 5s to take photo of it
Photo by Arnold Lee
EOS 5D Mark III • EF 17-40mm f/4L USM • 5s • f/5.6 • ISO 5000
Photo by Arnold Lee
EOS 5D Mark III • EF 17-40mm f/4L USM • 5s • f/5.6 • ISO 5000
For focusing, set the lens to AF mode and press the shutter button halfway down to focus on the light spot in the distance (e.g. the lights of a hotel, moon, etc) and then change to manual focusing. The light spot should appear sharp and clear in the enlarged photo if you have the right focus. In addition, Arnold suggested to shoot in RAW format for the sake of easy adjustment of image brightness and white balance during post-editing. “Some people would set the white balance to “Daylight” and this will add a green cast to the aurora. My suggestion is to use “Auto” white balance and reveal the red and blue colors of auroras during post-editing.”
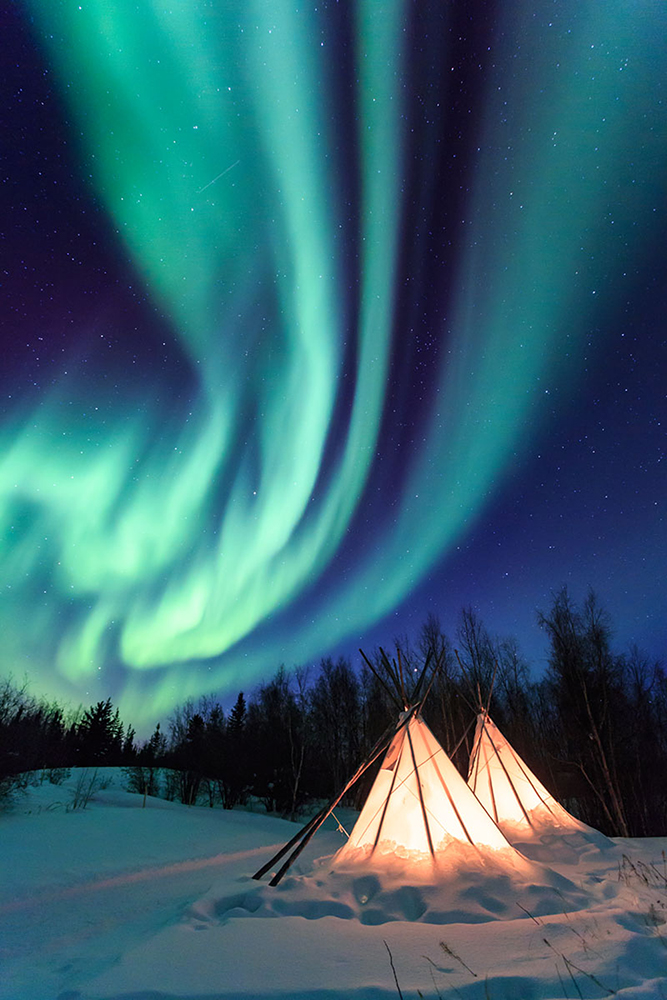
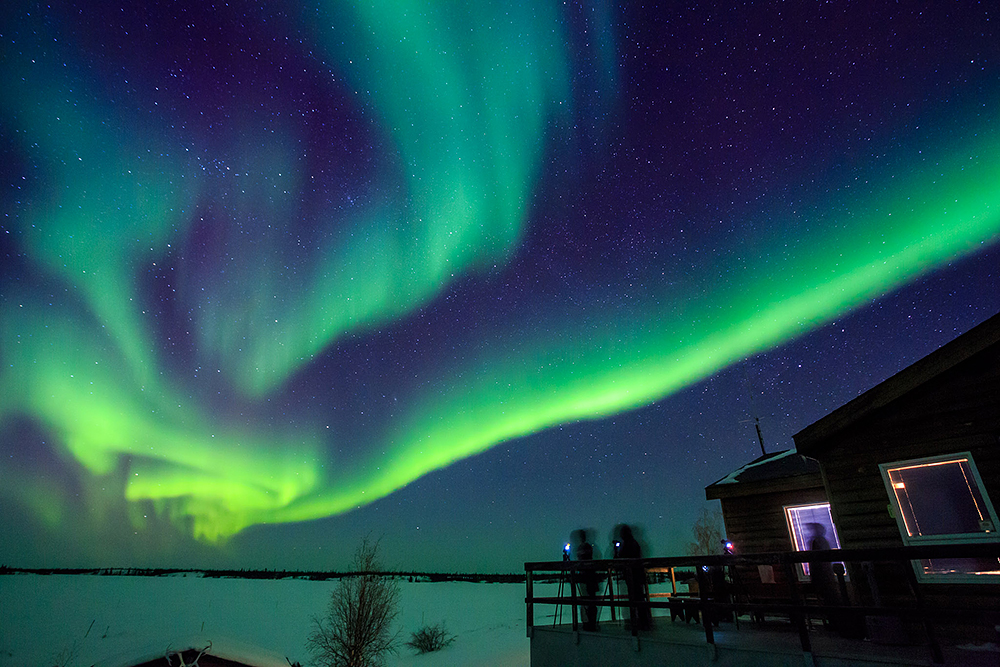
A tent, cabin or forest can be included in the foreground to enrich the composition
Photo by Arnold Lee
EOS 5D Mark III • EF 17-40mm f/4L USM • 15s • f/5 • ISO 2500
Photo by Arnold Lee
EOS 5D Mark III • EF 17-40mm f/4L USM • 15s • f/5 • ISO 2500
Protect Your Equipment from Frost
The first problem that comes to mind when shooting in freezing temperatures is how to prevent your camera from frosting over. “It takes low temperatures and a certain humidity for water to become frost on a surface. When temperature is at -20?C, for example, most water in the air will become solid. In this case frost won't occur due to the low humidity. However, equipment may have a chance to be frosted over when temperature is at 5°C to -10°C. So if possible, avoid shooting for long time at these temperatures.”
In addition, remember to remove the battery and memory card from the camera and put the camera back in the camera bag before returning to the warm indoor area from the cold environment. The thick padded camera bag can keep your camera warm and allow it to return to room temperature gradually. “Do not take the camera out from its bag and keep the camera bag closed after returning to the indoor area. Wait until the camera is completely defrosted, which normally would take about 2 to 4 hours. I would wait for at least 6 hours before taking the camera out to play safe. If the circumstances allow and the outdoor temperature is low enough, I would even leave all equipment and the camera bag out in the cold until the shooting is done to avoid moving frequently across the areas with huge temperature difference.”

Sharing seminars on travel photography featuring different genres of professional photographers are held regularly by Club Canon. Become a Club Canon member now to stay tuned on the latest news!
Aurora Photography Tips from Arnold Lee
Q: Apart from Yellowknife in Canada, are there other locations good for photographing auroras?
Arnold: The various Northern European countries, Iceland and Mongolia in the Northern Hemisphere, Argentina and New Zealand in the Southern Hemisphere are also best spots for aurora photography. Since Yellowknife is situated right below the Aurora Oval and being an inland region without high mountains, the chance that auroras being covered by clouds is relatively low. That’s the reason why I went there for the past 3 years.
Arnold: The various Northern European countries, Iceland and Mongolia in the Northern Hemisphere, Argentina and New Zealand in the Southern Hemisphere are also best spots for aurora photography. Since Yellowknife is situated right below the Aurora Oval and being an inland region without high mountains, the chance that auroras being covered by clouds is relatively low. That’s the reason why I went there for the past 3 years.
Q: What are the tips for composition when photographing auroras?
Arnold: Under most circumstances, auroras extend along the east and west directions. We should pay attention to this when framing a shot, and see if there is anything to feature in the foreground. It’s also a good practice to have a pre-visit of the shooting location in daytime. Get yourself familiar with the environment so that you can be better prepared to shoot at night.
Arnold: Under most circumstances, auroras extend along the east and west directions. We should pay attention to this when framing a shot, and see if there is anything to feature in the foreground. It’s also a good practice to have a pre-visit of the shooting location in daytime. Get yourself familiar with the environment so that you can be better prepared to shoot at night.
Q: Can wrapping the lens with warm packs lower the chance of condensation?
Arnold: Warm packs themselves may freeze in extremely cold weather. So I don’t think warm packs can help.
Arnold: Warm packs themselves may freeze in extremely cold weather. So I don’t think warm packs can help.
Q: Is a filter necessary for the lens?
Arnold: Auroras are dim photography subject and it should be our purpose to let in as much light as possible. All types of filters other than the protect filter are unnecessary.
Arnold: Auroras are dim photography subject and it should be our purpose to let in as much light as possible. All types of filters other than the protect filter are unnecessary.
Related Articles
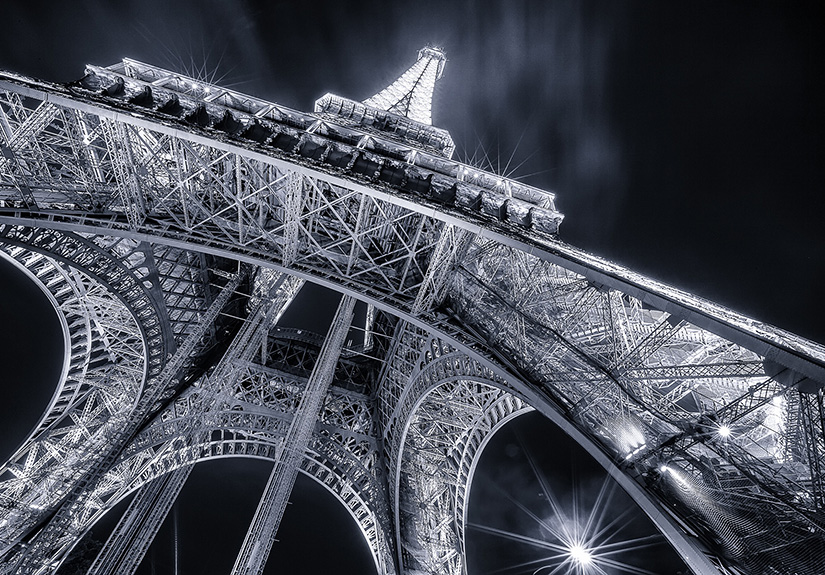
In addition to the exotic landscape, local culture and people, historic sites and landmarks are definitely on your list of shooting. How can we turn these magnificent...

Traveling is a good way to explore and experience the scenery, culture and people of places different from where you grow up; and to all photo lovers it is also a chance to take great pictures. Being in an unfamiliar place, it requires good preparation prior to your trip to take in the beautiful scenery with your camera.
Random Articles

Japan Autumn Festival - Red Leaves Photography and Kimono Culture