
PIXMA / MAXIFY Cloud Link has pre set various popular app for easy and direct access to facebook album and a variety of online contents without computer. PIXMA / MAXIFY Cloud Link also supports directly scanning of document and photo to free cloud storage such as Google Drvie and Dropbox.
PIXMA MG7770/MG7570/MG7170/MG6870/MG6670/MG6470/MG5770/MG5670/MG5570/MG3670/MG2970#/MX537#/iP110# MAXIFY MB5370/MB5070/iB4070#/G3000#
Compatible models of scan* to cloud function:
PIXMA MG7770/MG7570/MG6870/MG6670/MG5770/MG5670/MG3670 MAXIFY MB5370/MB5070
# Print from cloud function must be used in conjunction with mobile devices. Please visit www.canon.com.hk/PPS/tc for more information
* Scan to Cloud must be used with full set genuine ink
IJ Cloud Printing Center Registration
PIXMA MG7770/MG7570/MG7170/MG6870/MG6670/MG6470/MG5770/MG5670/MG5570/MX537
MAXIFY MB5370/MB5070/iB4070


 Scan Demonstration
PIXMA MG7770/MG7570/MG7170/MG6870/MG6670/MG6470/MG5770/MG5670/MG5570/MX537
MAXIFY MB5370/MB5070/iB4070

1.Register the service by choosing "Device Settings", "Web service setup", "Web service connection setup" and "IJ Cloud Printing Center setup" in the printer
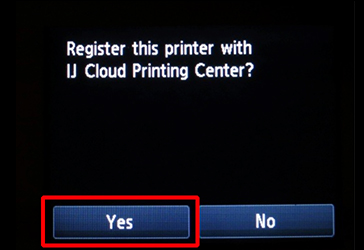
2.Choose "Register with this service" and "Yes"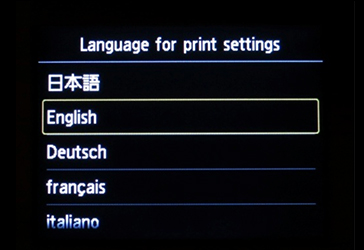
3.Choose the registration language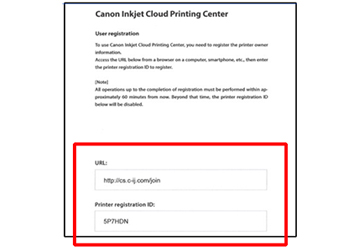
4. Registration link and ID number will be printed, please access to the website for registration (The registration process must be completed within 60mins)
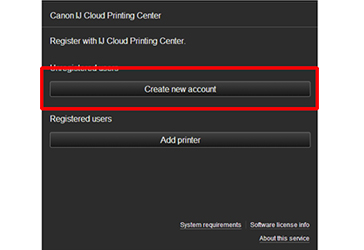
5. Choose "Create new account"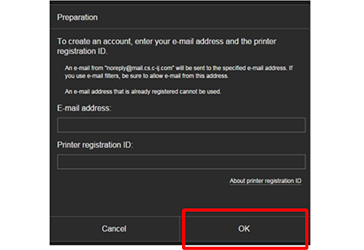
6. Enter a valid email address as login name and printer registration ID. Then choose "OK"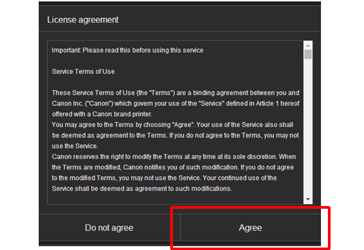
7. Access to the URL provided in the confirmation email, read and "Agree" the Service Terms of Use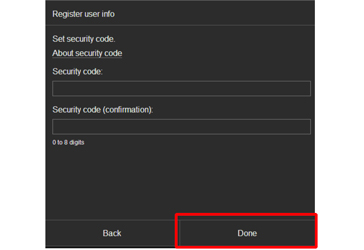
8. Set the user password, user name, time zone and security code. Then choose "Done" to complete the registration
PIXMA IJ Cloud Printing Center Registration
PIXMA MG3670/MG2970/iP110/G3000
PIXMA MG3670/MG2970/iP110/G3000
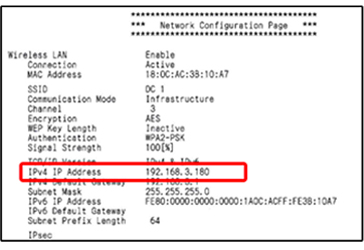
1.Print out network setting after setup and remember the IP address:
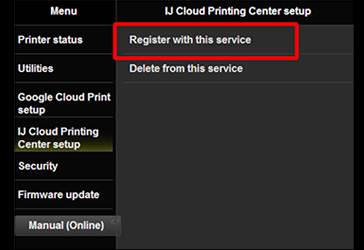
2. Open the web browser on a PC or mobile device, type the IP address on the browser to enter Remote UI interface. Choose "IJ Cloud Printing Center Setup" and "Register with this service"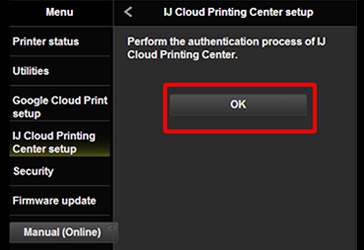
3. Choose "Yes" and "OK" to register cloud service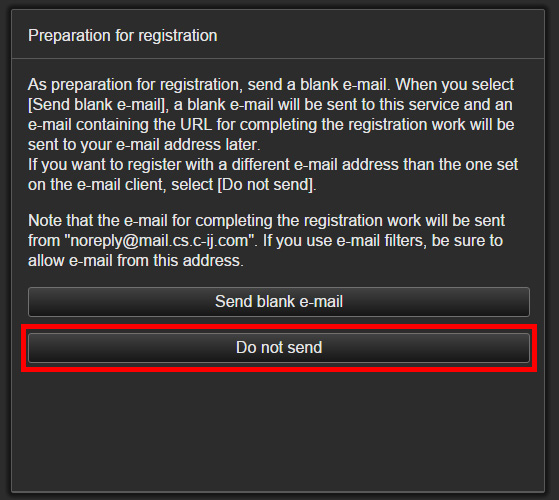
4. Choose “Do not send"
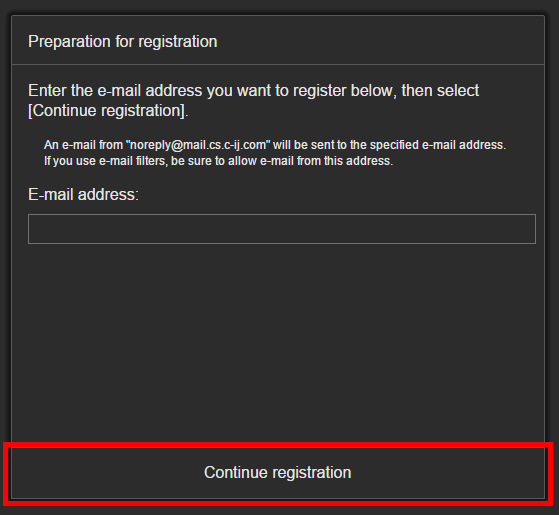
5. Enter a valid email address as login name and choose “Continue registration"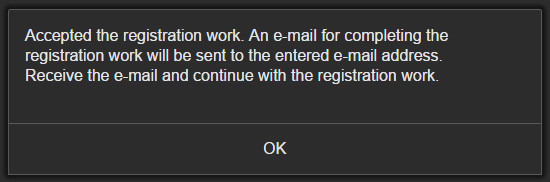
6. Login to the user email for checking the confirmation email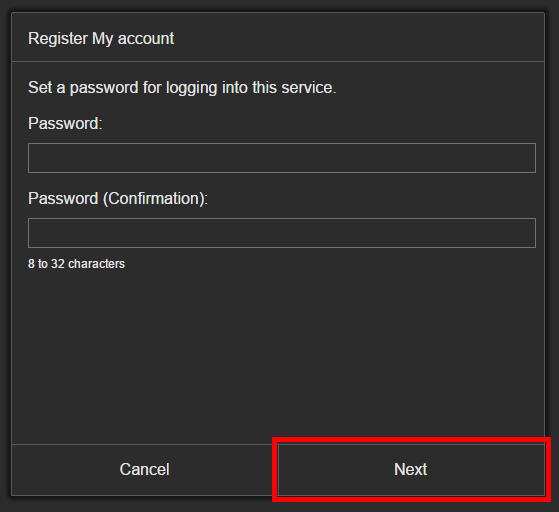
7. Access to the URL provided in the confirmation email, read and "Agree" the Service Terms of Use. Set user password and time zone.
8. Registration completed
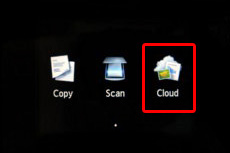
1. Select "Cloud" on the printer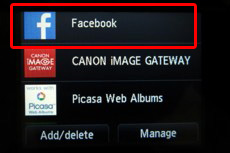
2. Select "Facebook" and login to the Facebook account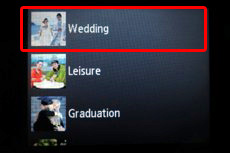
3. Select the Facebook user and photo Album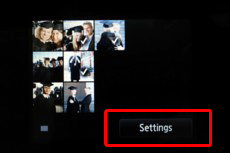
4. Select photos to print and press "settings"
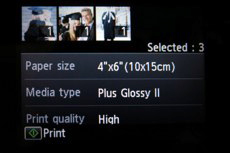
5. After finishing print setting, press "print"
1. Select "Cloud" on the printer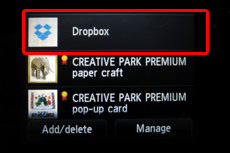
2. Select "Dropbox" and login to Dropbox account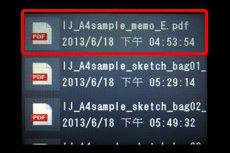
3. Select documents to print*
*Support JPG, PDF, doc, docx, xls, xlsx, ppt and pptx format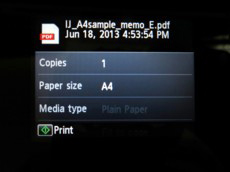
4. Press "print" after finishing print settings
1. Select "Cloud" on the printer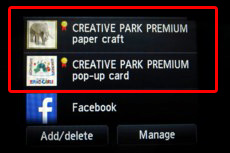
2. Select "Creative Park Premium"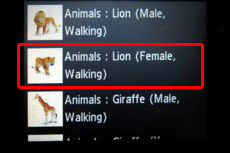
3. Select Artwork to print
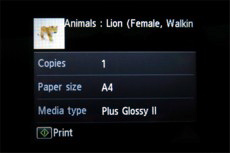
4. Press"Print" after finishing print settings
Direct scan to Google Drive without computer
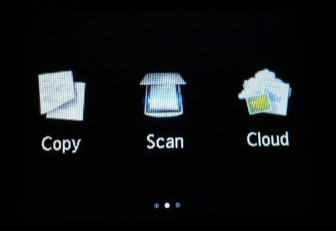
1. Select "Cloud" on the printer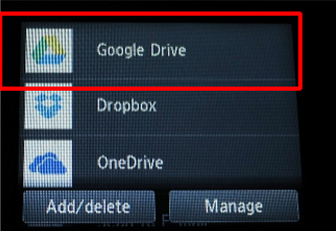
2. Select "Google Drive" and login to Google account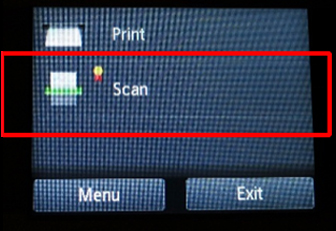
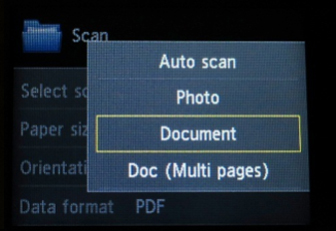
3. Select "Scan"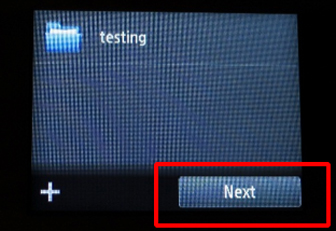
4. Select "+" to create new folder or "Next" for scan settings
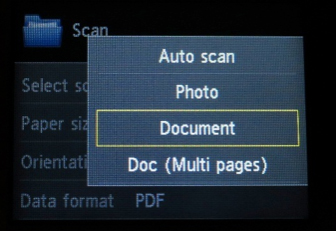
5. Complete scan settings according to the instruction and then press"COLOR" button on the printer
Scan to email without computer
1. Select "Cloud" on the printer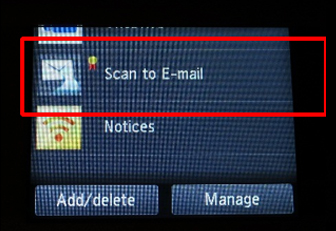
2. Select "Scan to Email" and agree the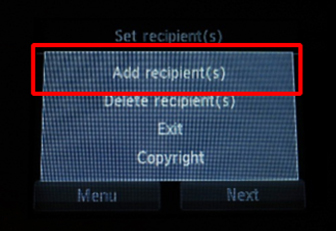
3. Select "Add recipient(s)"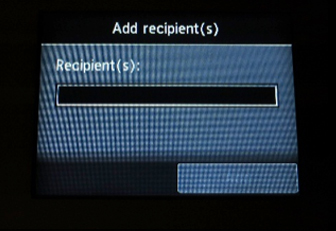
4. Input recipient’s email address by any method provided by the service
5. Complete scan settings according to the instruction and then press"COLOR" button on the printer
Besides Facebook, Dropbox and Creative Park Premium, there are more Cloud Application for online contents
