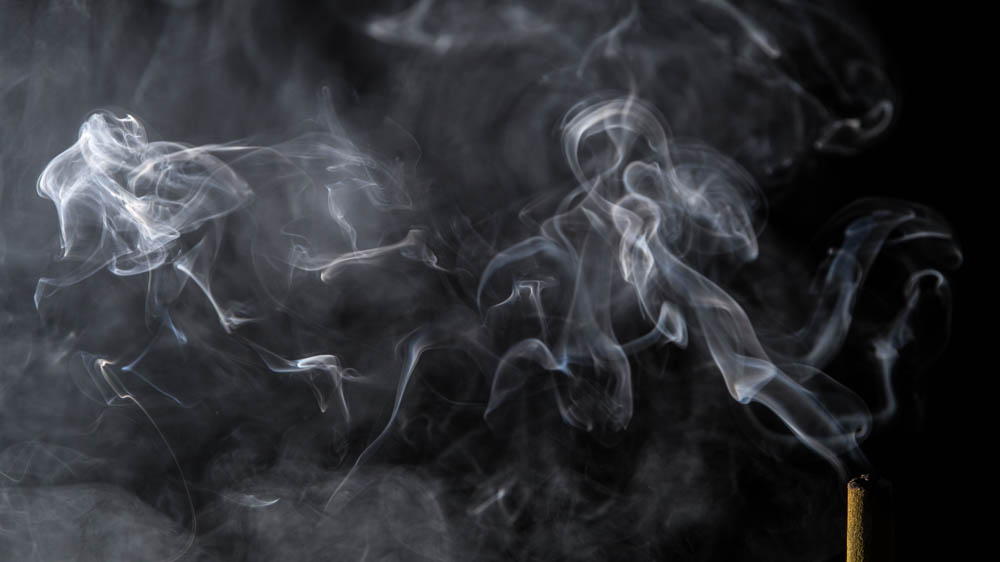
Capture the Dreamy Beauty of Smoke
Smoke appears in varying shapes and forms, and the flowing plume of smoke is a good object to photograph. Smoke photography requires no complicated equipment, technique or set-up, and can be beautifully done at the comfort of own home. If you have spare time, do try this out and enjoy the fun of smoke photography!

Tools to Prepare
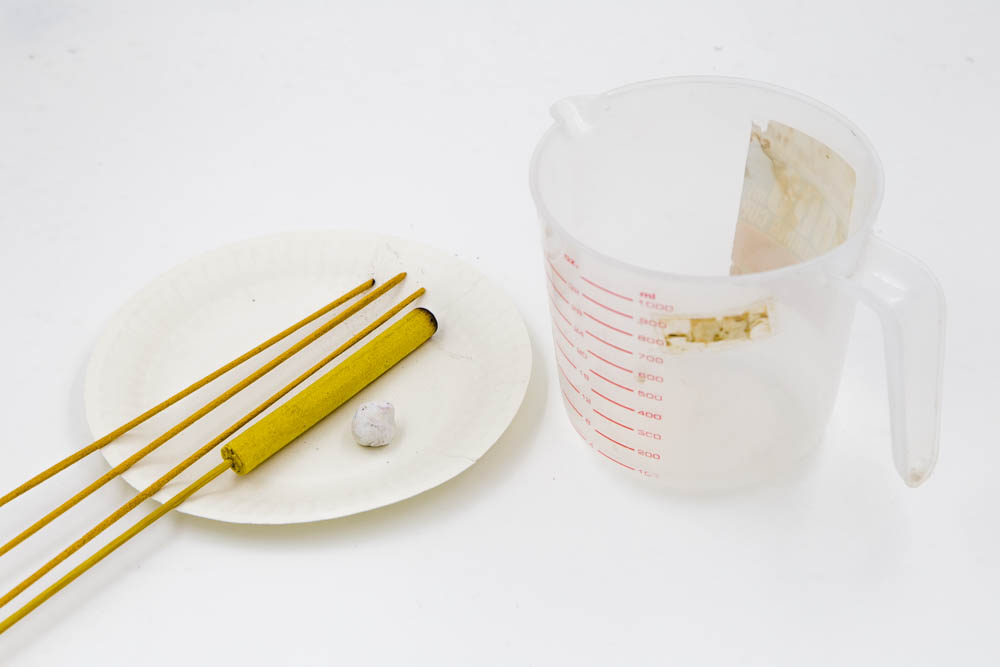
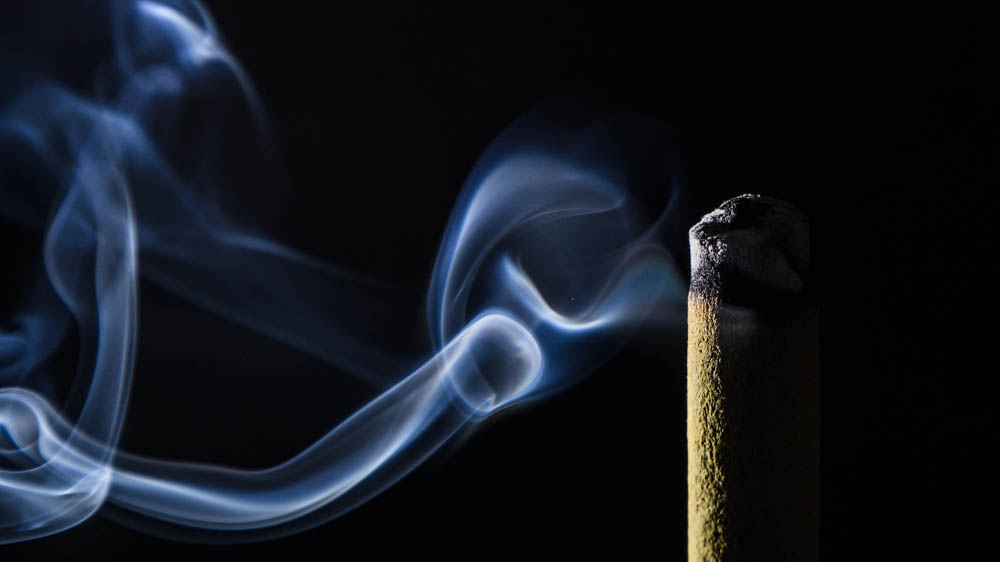
Incense stick
Incense sticks are good source of smoke as the smoke produced will not be too dense and it’s easier to control. Other sources are also available. A more common alternative is the smoke cake. However, it’s not good for indoor usage as it produces a very thick smoke.
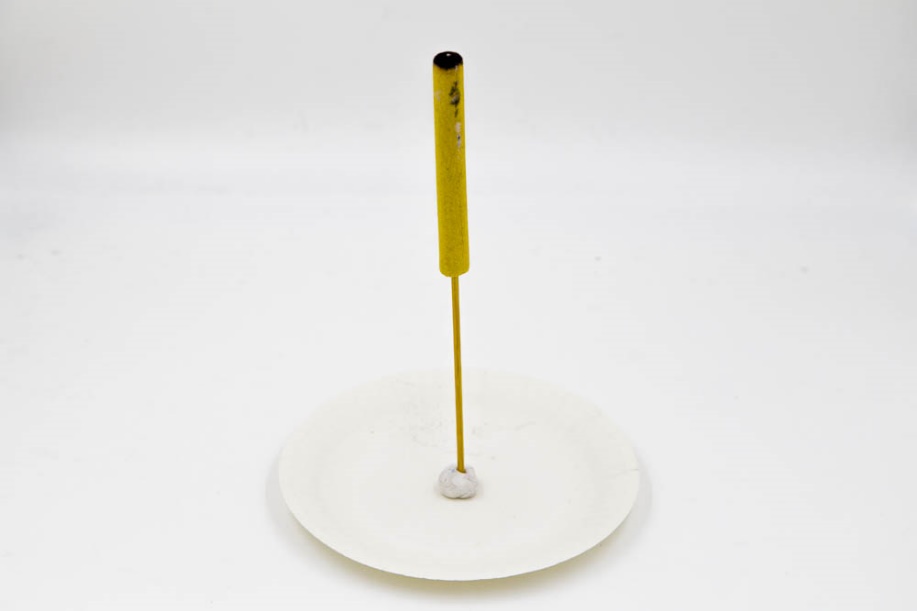
Play dough
For holding the incense in place for shooting.
Paper plate
For putting the incense for shooting (as shown in the photo below). It can also catch the ash and make it easy and quick to clean up just by throwing away.
Household container
For producing smoke in different shapes and forms. Will go through in details later.
Camera and Tripod
We need to capture the smoke using continuous shooting. A tripod can help ensure the same composition during continuous shooting.
Flash and Trigger
We will freeze the smoke with flash. It can also enhance the texture of smoke.
Setup
Setup for smoke photography as shown below:
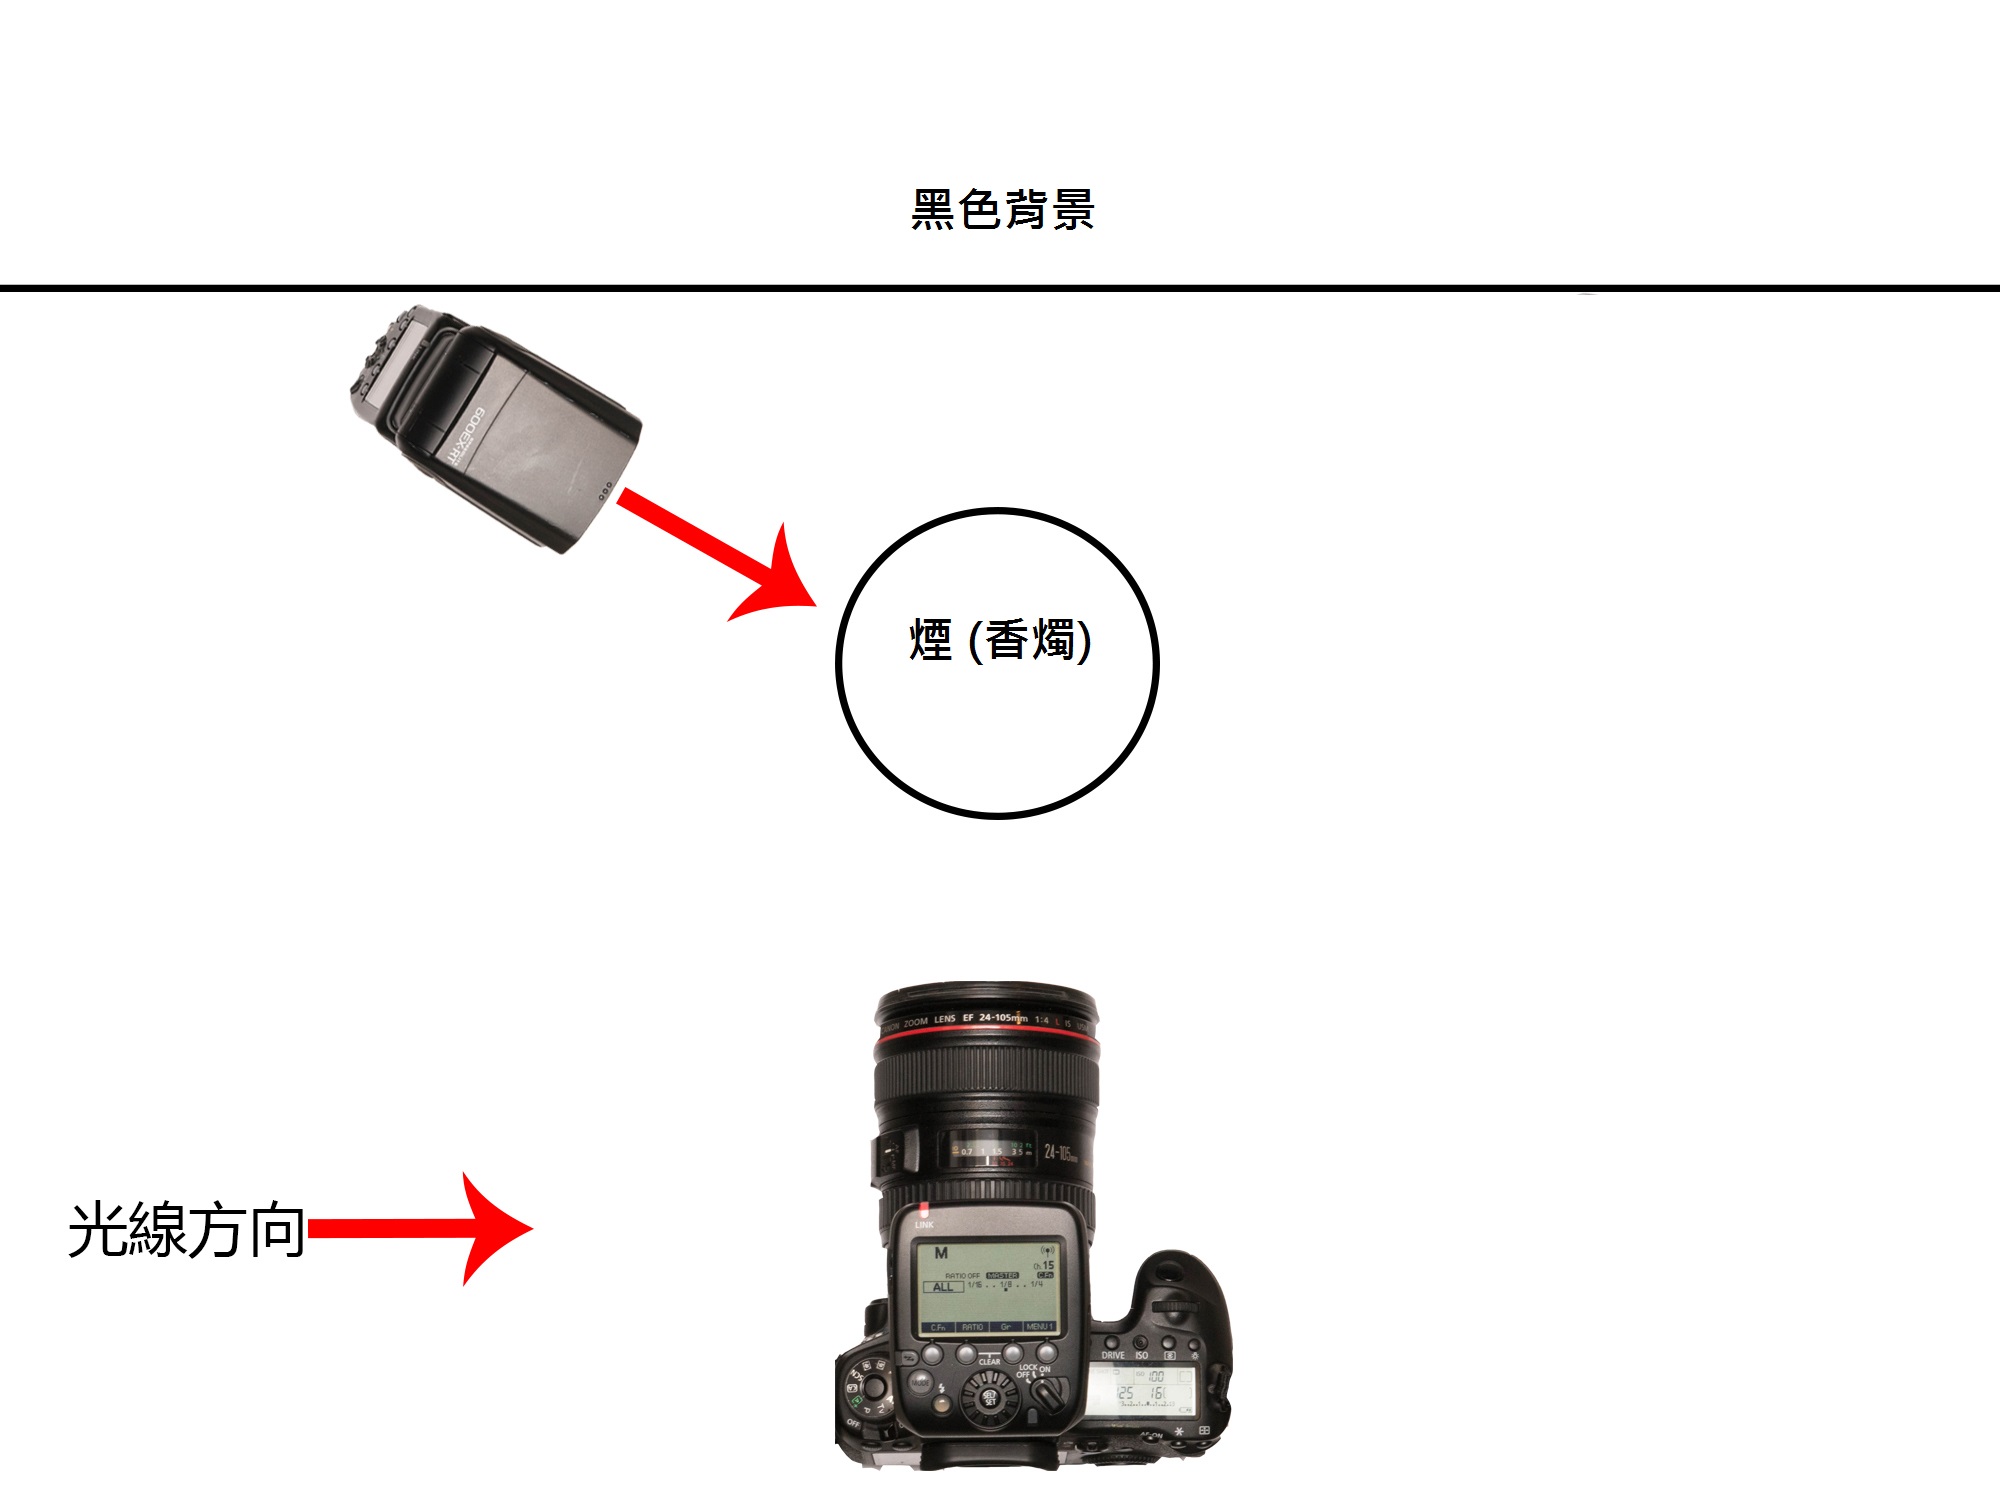
Black backdrop
Since the smoke is white in color, a black backdrop can make the smoke stand out.
Flash position
Position the flash to give a side lighting from the back. The flowing direction of the smoke will determine whether to put the flash on the left or right side – on the left if the smoke flows to the left and vice verse (it doesn’t matter whether to put the flash on the left or right side if the smoke flows up). Frame the shot without seeing the flash. And it’s important to let the light penetrates through the smoke and enter the lens for more apparent result.
Shooting Technique
Shooting and focusing technique
Smoke changes quickly. Continuous shooting is thus suggested to ensure capture of every surprising scene. Besides, as smoke has blurry edges, it’s difficult to focus automatically. Therefore before you shoot, set the focus manually on the trace of smoke, or simply focus on the incense stick (we can crop out the incense in post-editing if needed).
Camera and flash setting
As the smoke will be our focus, the flash will be the main light source on the smoke and we should avoid capturing the ambient light. As guidance, a shutter speed of 1/160s, ISO 100 and f/8 aperture can be used to ensure adequate depth of field to capture sharp smoke image. For the flash setting, to ensure continuous flash output within a short period of time to capture the continuous images of smoke, we should use a lower output power such as 1/4 or below, or change the light intensity by changing its distance from the subject.
Other techniques
We can also use a container to cover up the incense (as shown in the photo below), allowing the smoke to gather and uncover it to make the room thick with smoke.
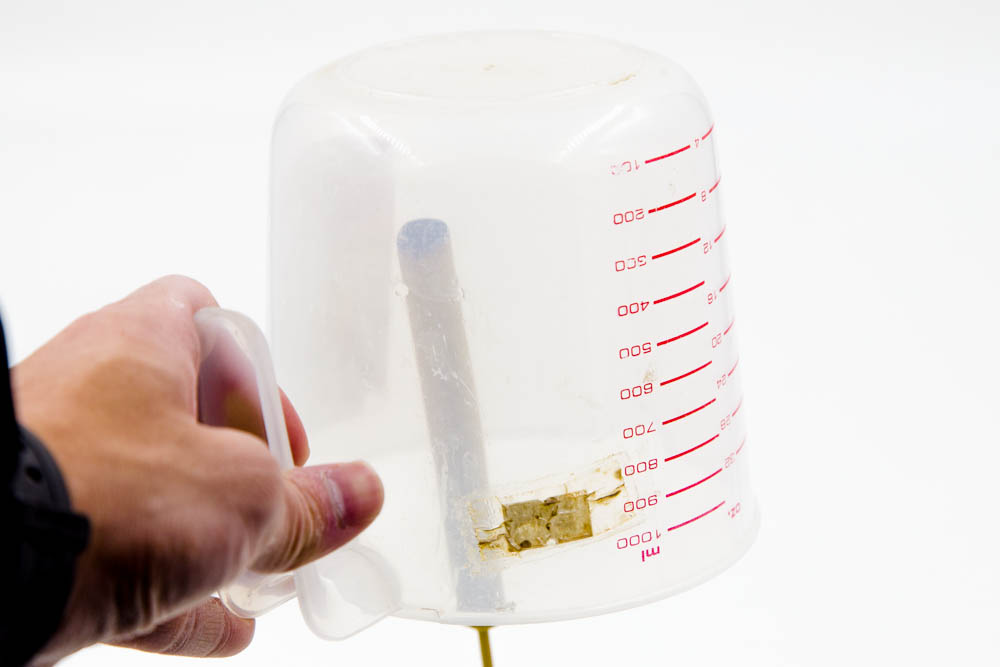
Use a container to cover up the incense and uncover after a while, allowing the smoke to gather
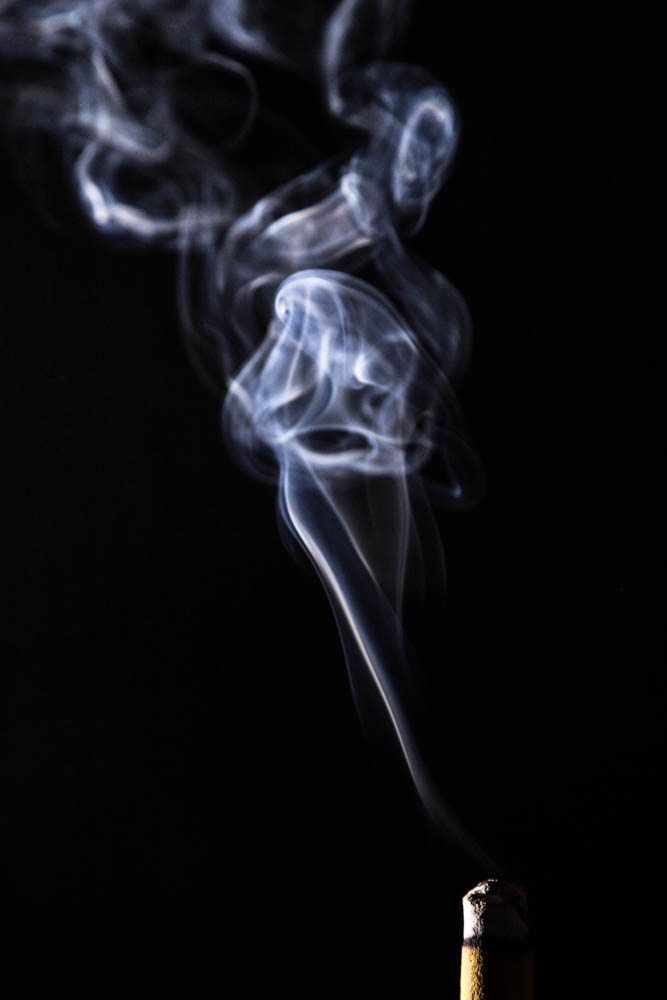
Normal shooting
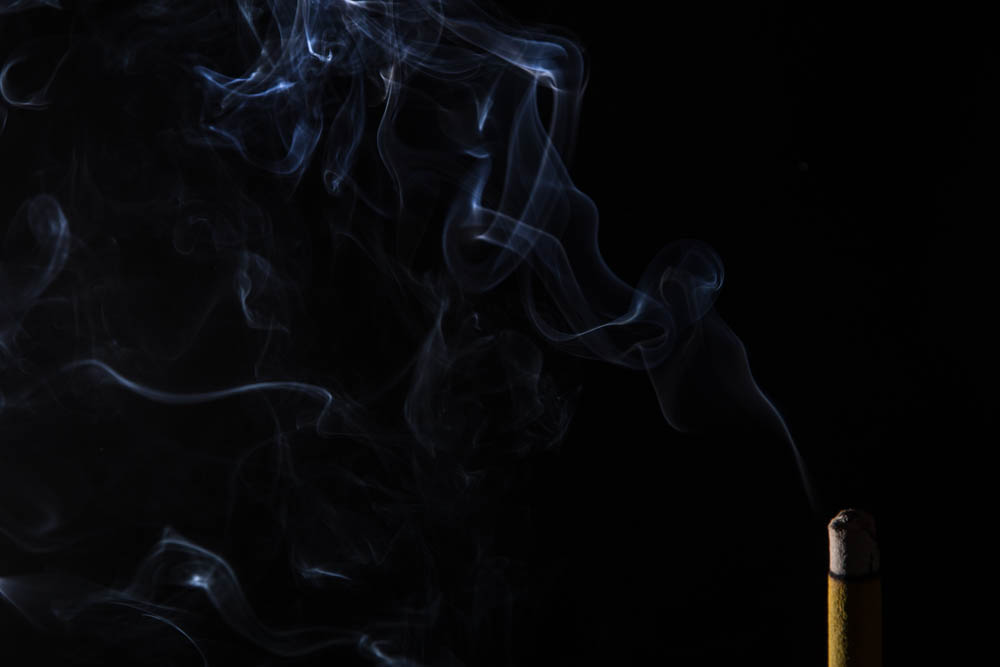
Shooting after covering up the incense for a while
Post-Editing Variations
Increase the level of Clarity
We can increase the Clarity drastically in post-editing to outstand the sharp of smoke.
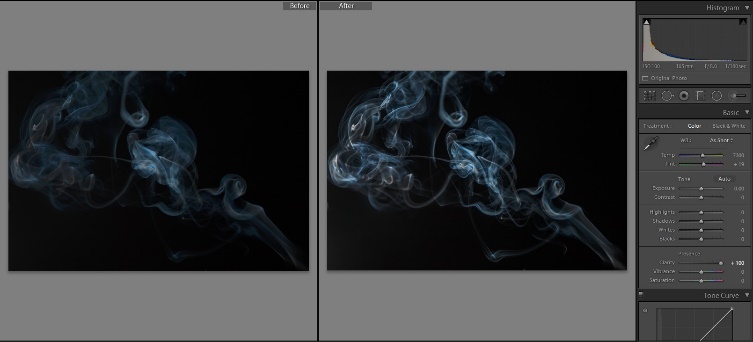
The image on the right is how the image looks like after increasing the Clarity
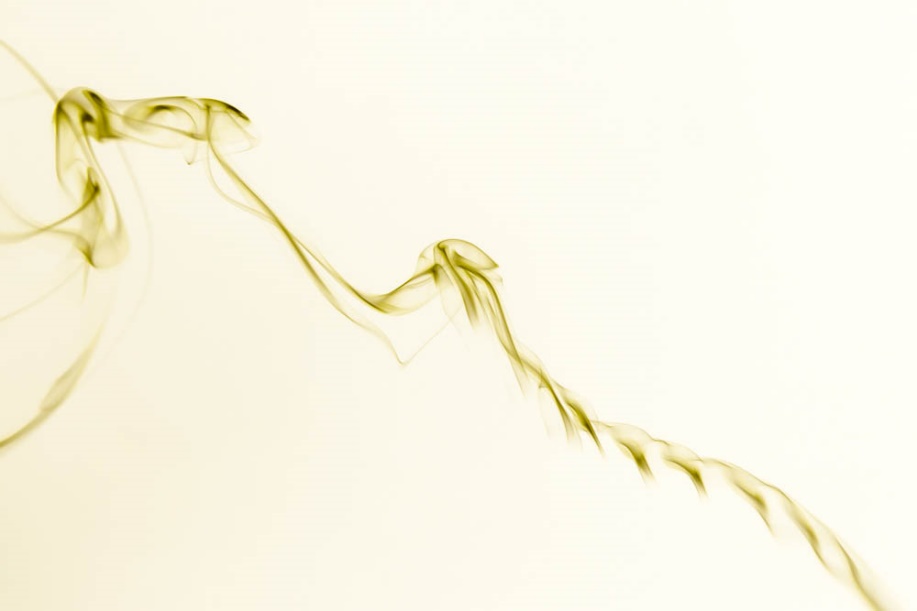
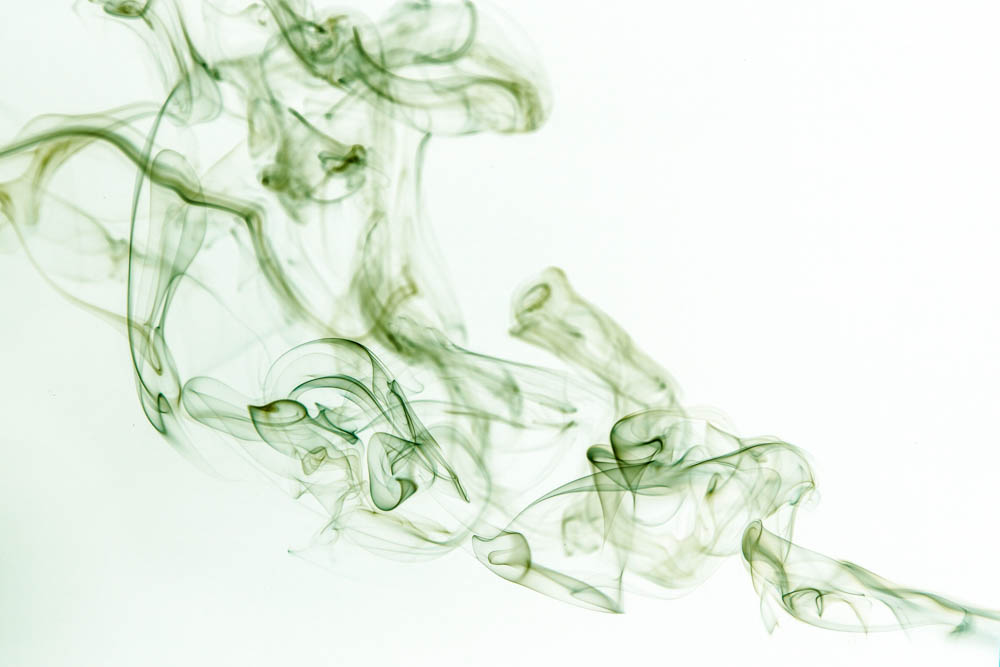
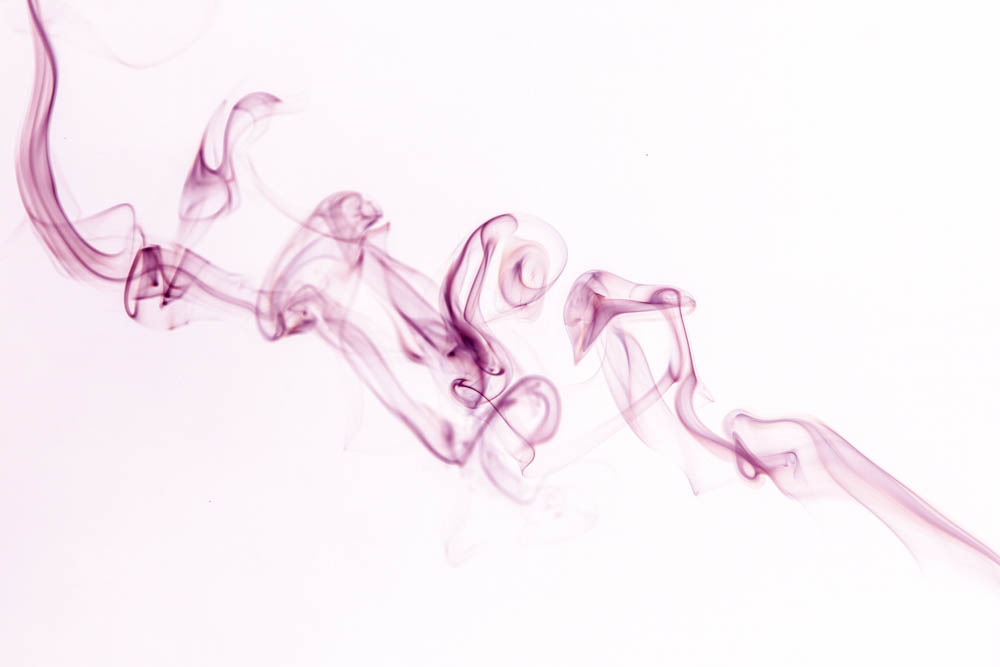
Invert the colors
If you want to create different colors for the smoke, you can invert the colors of image in post-editing.
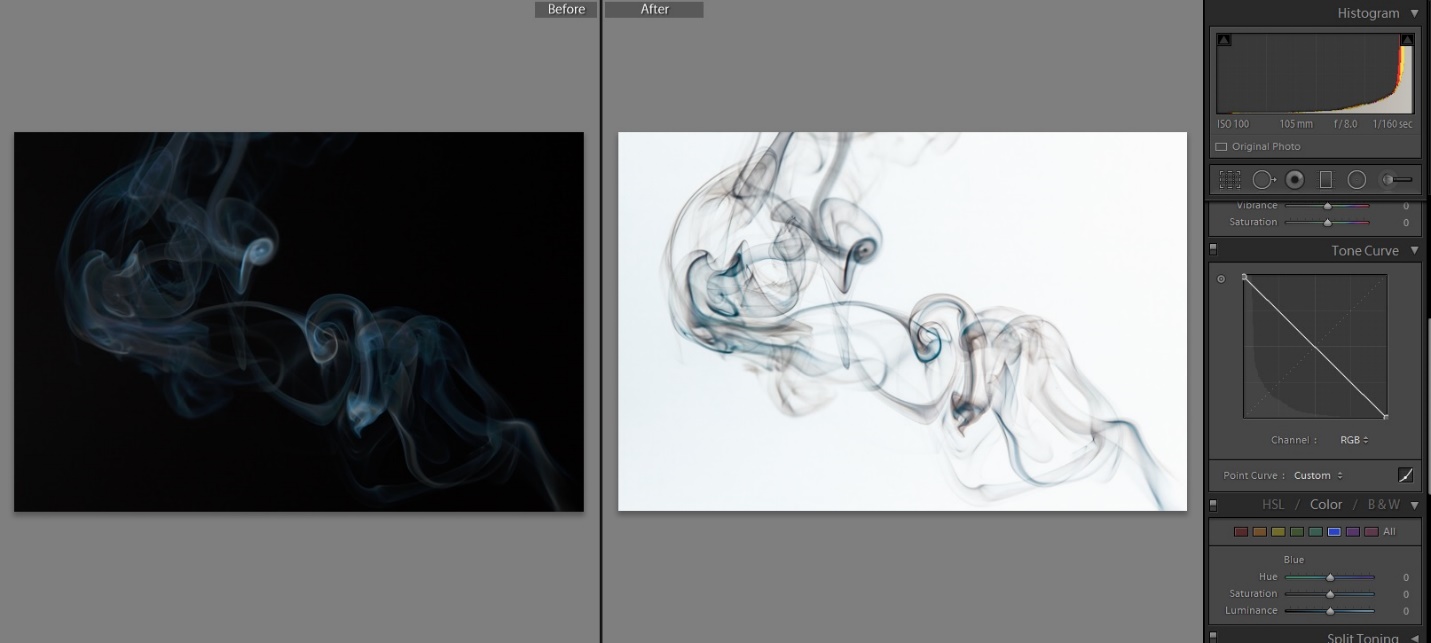
1. Swap the X and Y axis in Tone Curve (move the bottom left point to the top and the top right point to the bottom) to invert the colors of image
2. Then adjust the Temp or Tint to change its colors
2. Then adjust the Temp or Tint to change its colors