The Essential Guide to Filters for Landscape Photography
Filters are essential tools when it comes to landscape photography. Applying filters of different types can enhance your photos instantly without the hassles of post-editing. More importantly, these tools can achieve effects that cannot be replicated by post-editing. This makes the use of filters an essential technique to learn for serious landscape lovers. This article will cover three types of commonly used filters that show distinctive effects – namely Neutral Density Filter, Graduated Neutral Density Filter and Polarizing Filter.
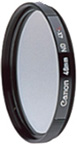
Circular Polarizing Filter
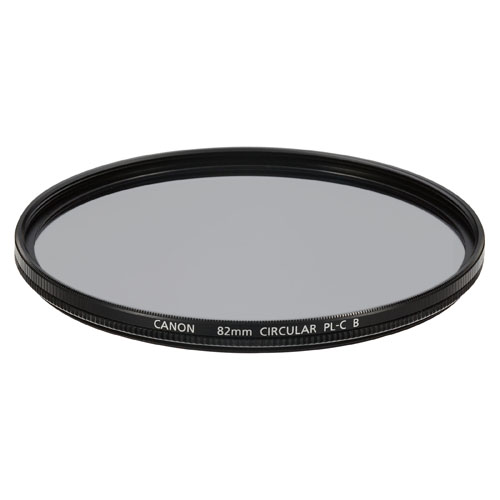
Turn the front lens element of the screw-type polarizing filter to search for the right angle to shoot
The colors of a landscape photo may look dull and pale easily. This is because the particles in the air reflect the sunlight and become gray white, making objects lose their original colors and result in pale sky and dull-colored foliage. A polarizing filter can help reduce reflections from leaves so that sharper and brighter colors can be achieved. When photographing reflective objects such as a lake surface or glass, a polarizing filter can help suppress the reflected lights to reveal the real subjects underneath the water or behind the glass.
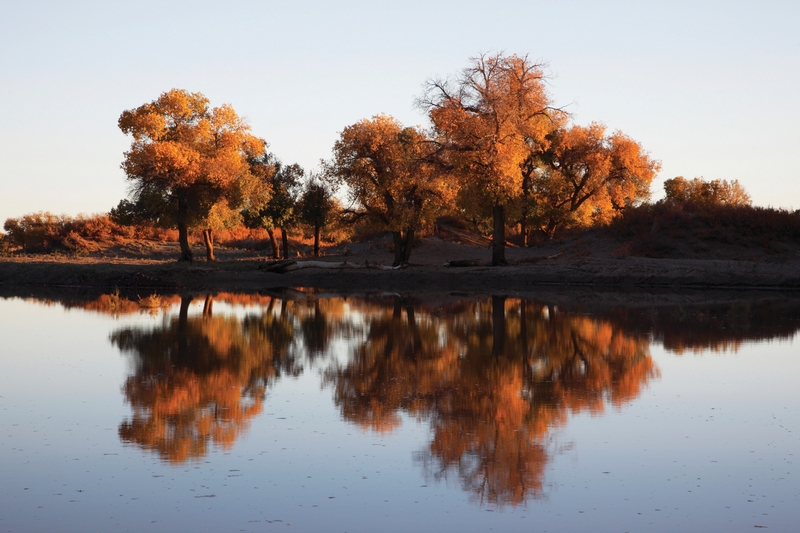
Without using a polarizer.
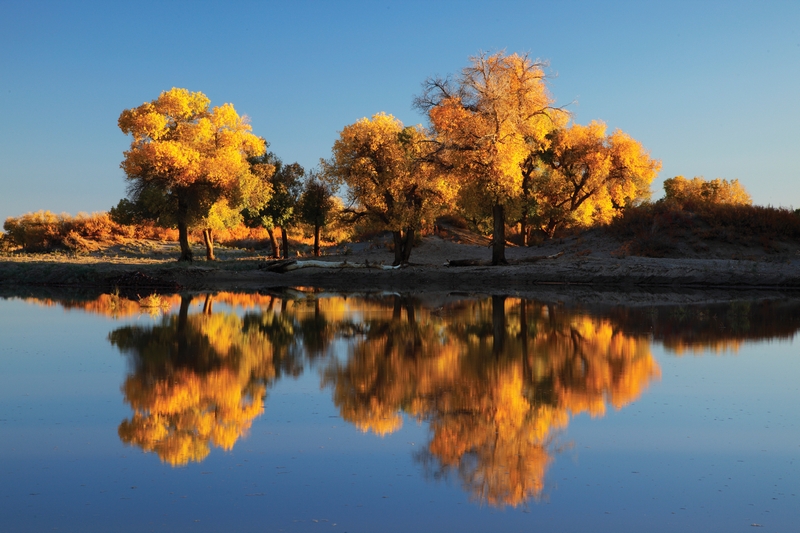
The use of a polarizer can result in a bluer sky and yellow leaves in richer colors and saturation.
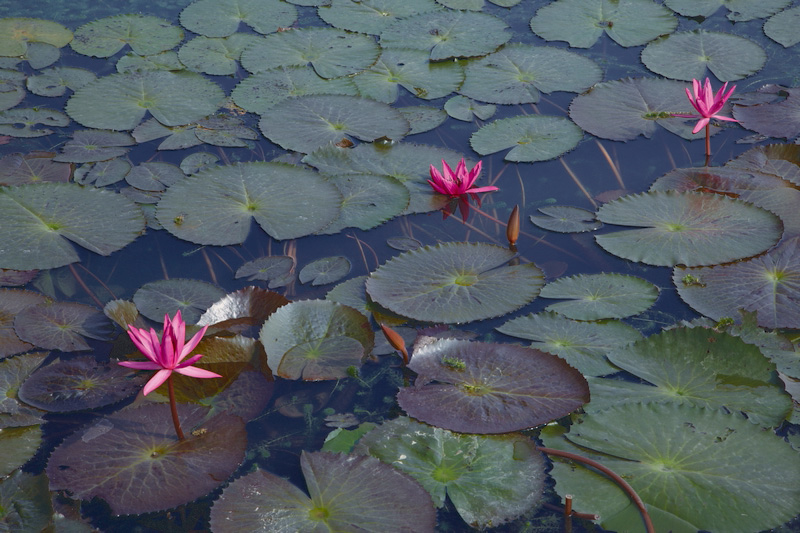
Without using a polarizer.
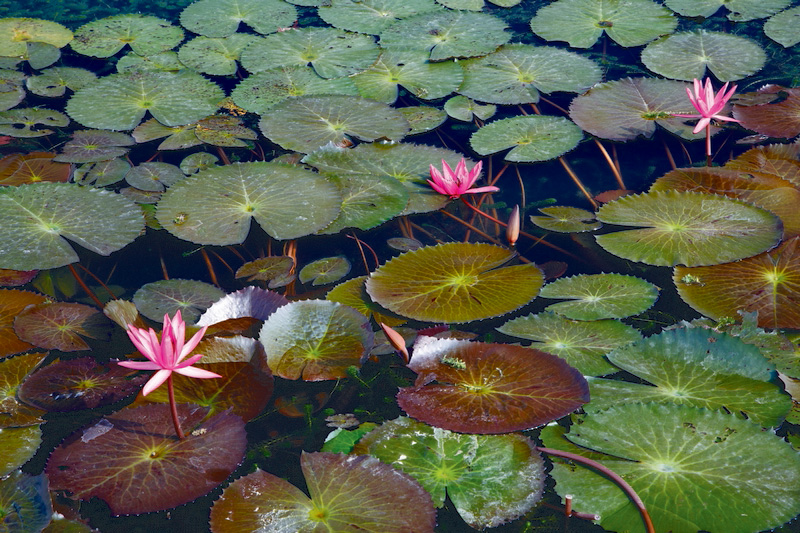
The use of a polarizer can suppress glare from the foliage surface so that every leaf looks sharp and clear.
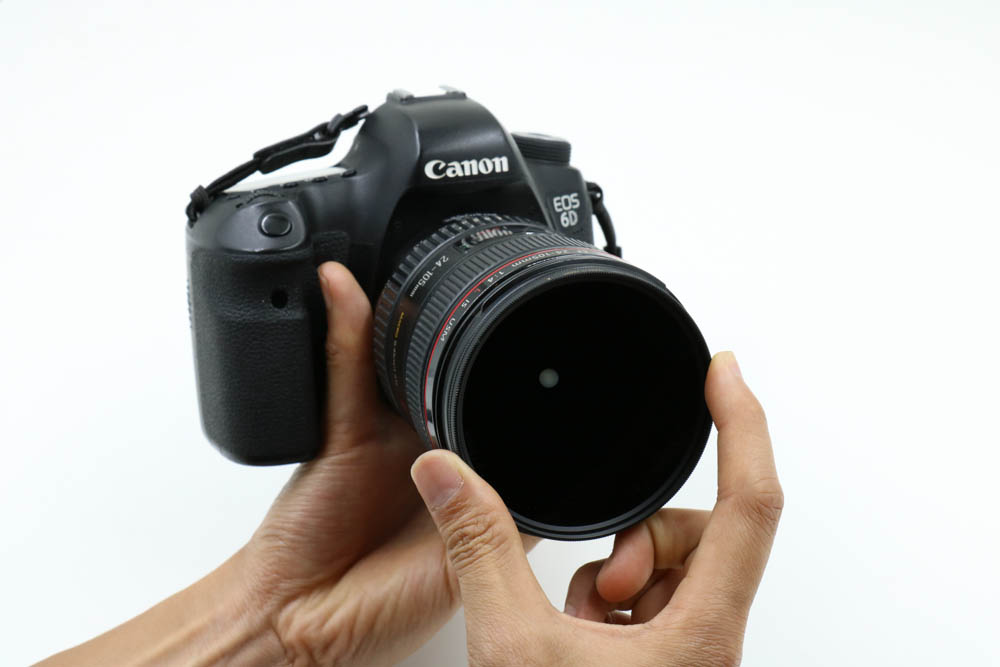
A polarizing filter utilizes a dual-lens-element design. Simply turn the front lens element until the colors are at their brightest and press the shutter to take a photo. Bear in mind that a polarizing filter works best only when the camera is positioned at 90? to the light source (the sun) – i.e. when the light source is right above the camera. (A polarizing filter cannot reduce reflections from a light source coming straight to the lens. That’s why it won’t show any effect when taking sunrise or sunset photos.)
Neutral Density Filter (ND Filter)
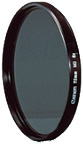
A circular screw-in type ND filter. Buy filter of the appropriate diameter according to the lens used.
A ND filter is useful in reducing the amount of light entering the lens, resulting in a prolonged exposure time. It is particularly useful for taking long exposure shots of subjects like flowing water or clouds.
A ND filter can block the light coming through the lens evenly, allowing users to use a super slow speed shutter even on a bright, sunny day without the need to adjust to a lower aperture or ISO. You can buy a ND filter with different levels of light reduction. For example, ND-2 refers to a 2-stop reduction in EV, while ND-4 means a 4-stop reduction in EV and so on.
The amount of EV reduction by the filter is the number of stops the shutter can reduce. For example, applying a ND-4 filter on a scene using f/16, ISO 100, 1/2s as camera settings can reduce the shutter speed to 8s (1/2s →8s, a 4-stop reduction) without changing the overall exposure. This can help achieve the unique motion blur effect.
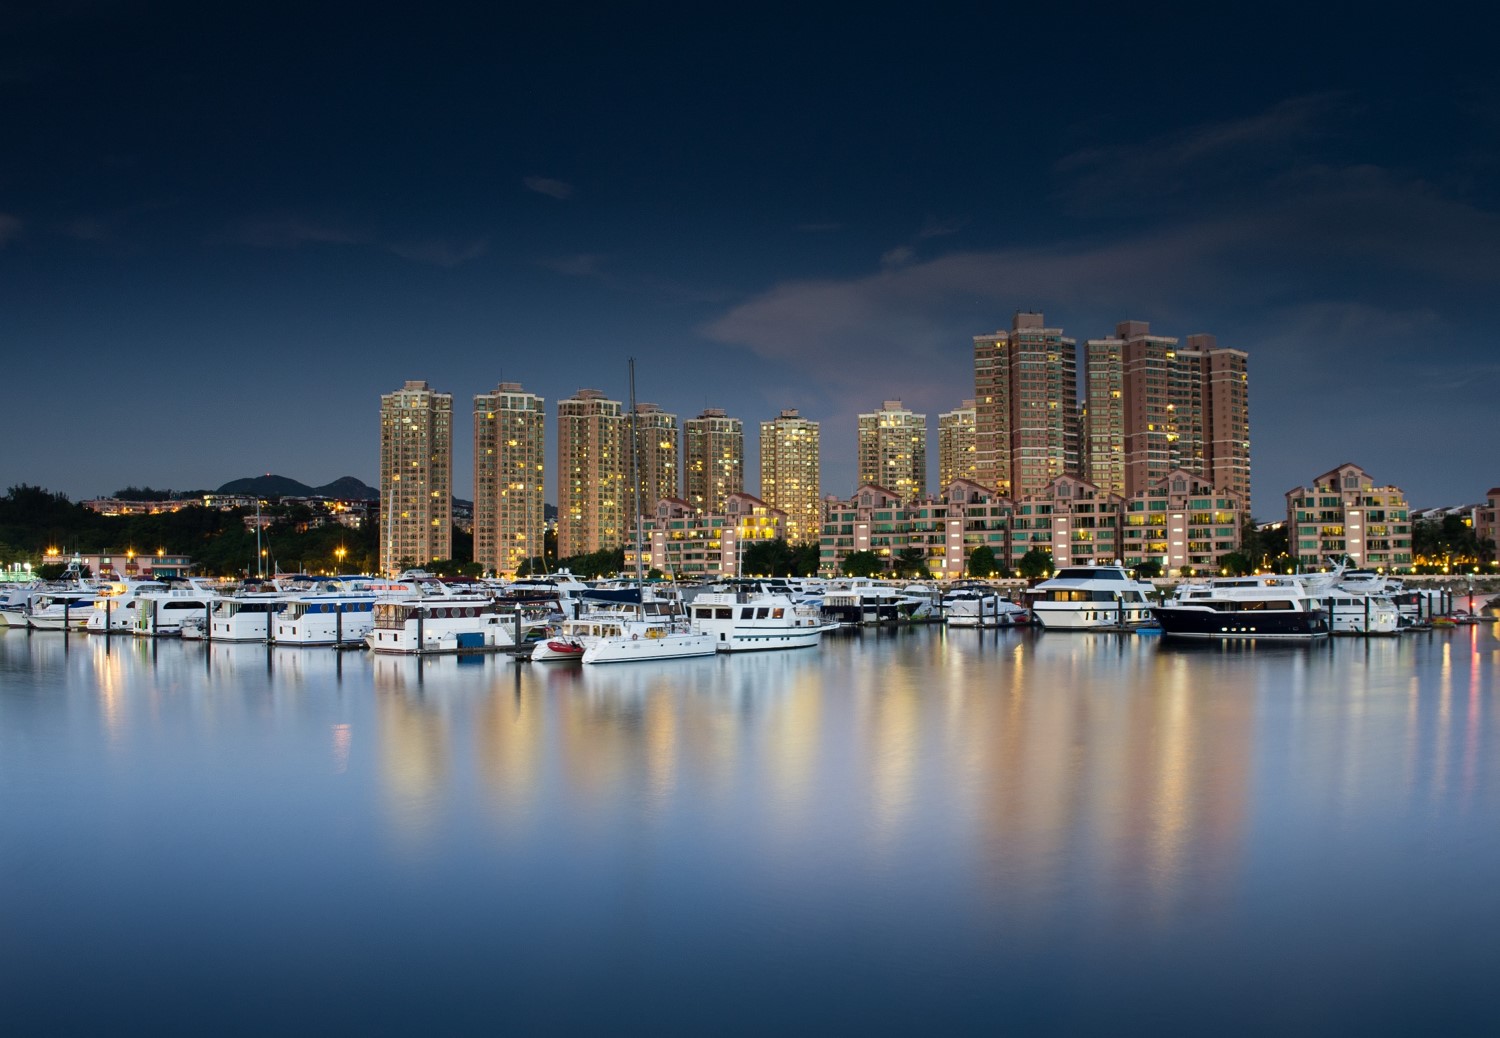
The application of a ND filter smoothens the water surface, creating image that is invisible to the naked eyes.
As increasing the exposure time will result in a higher degree of motion blur which cannot be replicated by post-editing, a ND filter is thus an essential tool for users who like to take long exposure shots.
Graduated Neutral Density Filter (GND Filter)
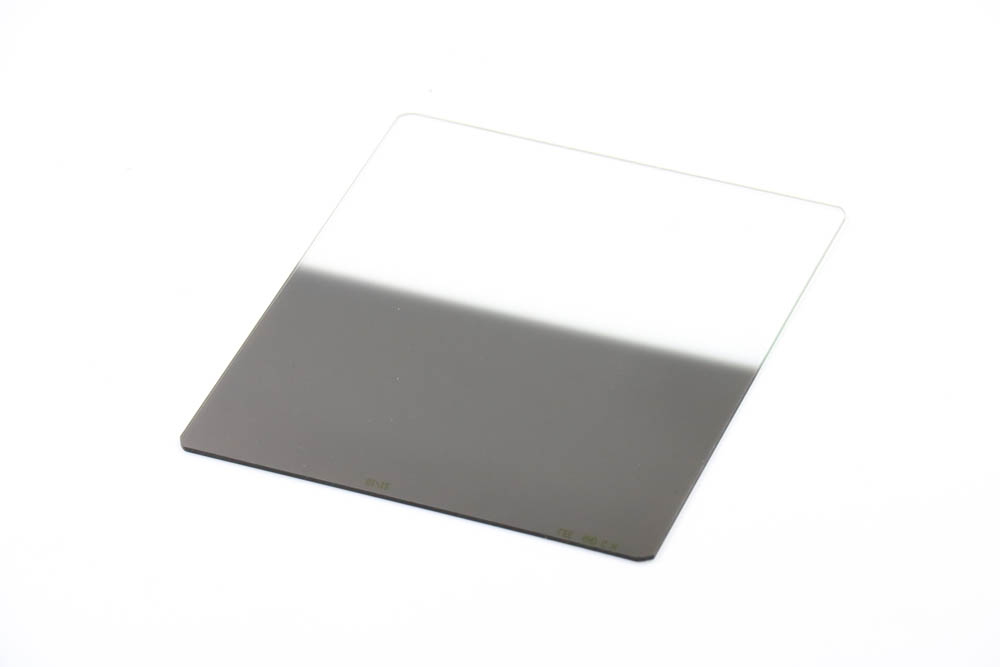
A square GND filter to be used with a filter holder.
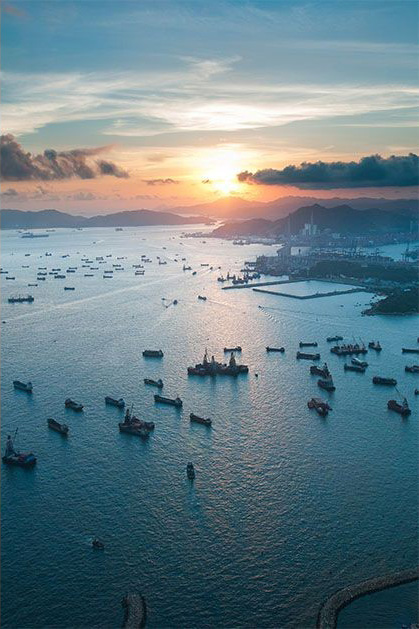
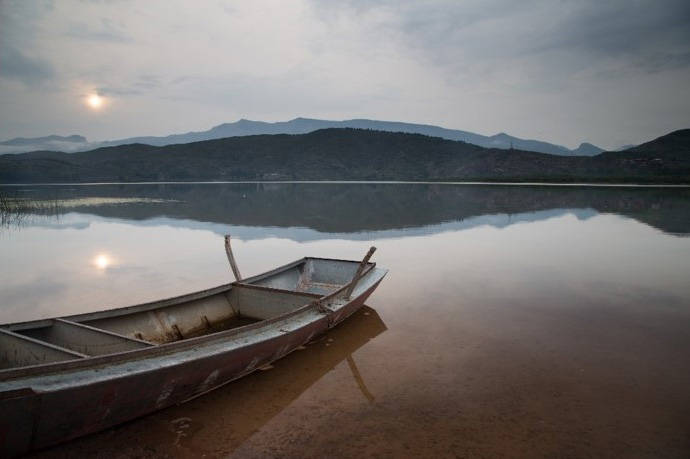
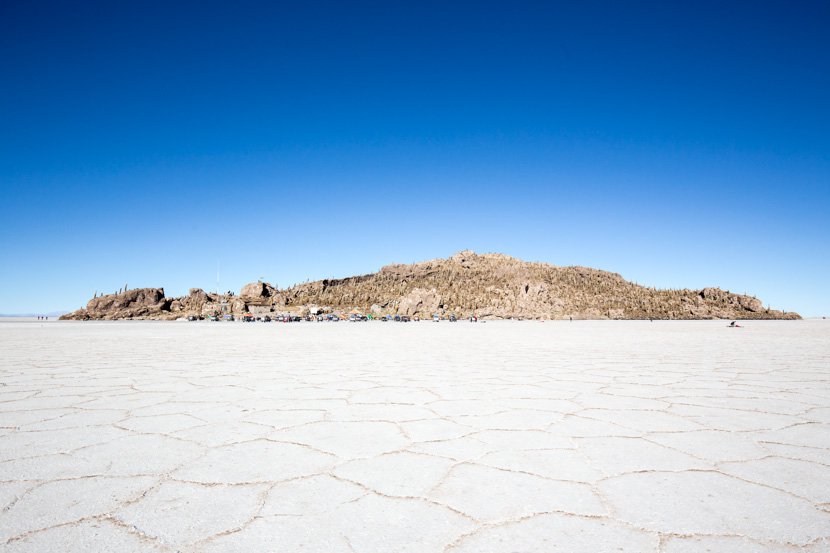
The dynamic range of a digital camera is very limited when compared to that of the human eye. When dealing with scene with a high lighting contrast, such as sunrise or sunset (the foreground is dim because of the bright sun behind), a metering on the dim foreground will over-expose the sky and sun at the back. Conversely, a metering on the highlight area will lead to under-exposure in the foreground. A GND filter is useful in reducing the light difference in different areas of the frame, retaining rich details in both highlights and shadows.

Without using a GND filter
Using a GND filter
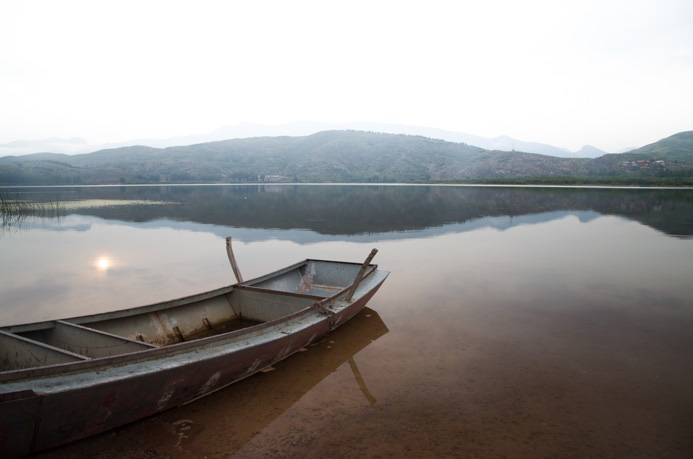
Without using a GND filter
Using a GND filter
A GND filter is half ND lens and half transparent glass. When used, cover the highlight area such as sky or sun with the ND half to avoid over-exposure. Similar to a ND filter, there are different levels of light reduction (indicated by different ND numbers) to choose from for a GND filter. Besides, different types of GND filters are available according to the way of transition between the ND lens and transparent glass. Filter with a hard border line is called "Hard Edge", while filter with a softer line is called "Soft Edge". The more gradual change between the two halves, the easier it is to observe the change in light intensity.
A "Soft Edge" GND filter has a wide transition area between the ND lens and transparent glass. It can be used to create color gradation for the sky.
In general, square GND filters are used. With a filter holder, it can be easily rotated and shifted to change the location of the transition line according to the composition.
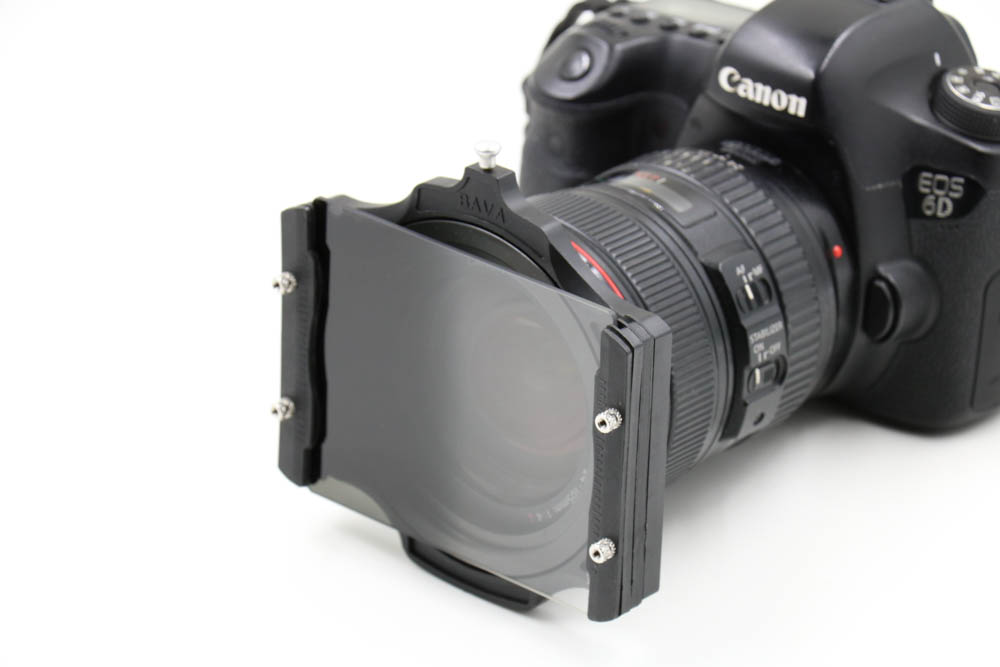
The filter holder is rotatable and the filter can be shifted. That’s why a square filter is more flexible to use than a circular one.
Filters and Post-Editing
The three types of filters mentioned above are commonly used for landscape photography, although similar functions can be found in common post-editing software. Since the working principles of filters are to change the physical properties of light, the resulting photos will look more natural. Some of the optical effects like reducing the light difference (common post-editing software offers function similar to a GND filter. However, if the scene’s lighting contrast exceeds the dynamic range of camera, the function alone cannot reproduce details in the highlight area that goes solid white or shadow area that becomes black as no such details have been captured), creating motion blur or changing the level of light reflection cannot simply be replicated by post-editing.
In short, the physical function of filters is still irreplaceable by the advancement of post-editing software. Mastering the use of filters is an indispensable technique you need to learn!