Seize the Best Timing to Shoot!
Understanding the Change of Hue at Night
A successful nighttime image requires both shooting skills and a right timing to shoot. Seize the chance to shoot with the best lighting possible when the day turns into darkness in one short hour.
Magic Hour - Blue Hour (after the sun sets below the horizon and before total darkness)
Those who love landscape photography should have heard about Magic Hour. Magic Hour can be divided into two periods – before and after the sun sets below the horizon. The last half an hour of light before sunset is called Golden Hour. As the cool hue of light is deflected and cannot be seen by human eyes during this period of time, the warm hue of sunlight becomes more prominent and is thus a perfect time for sunset photography.

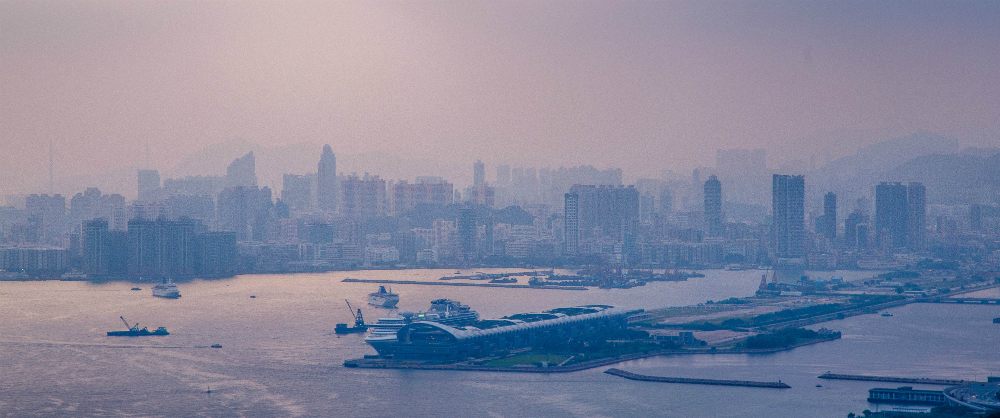
Golden Hour with warm color temperature
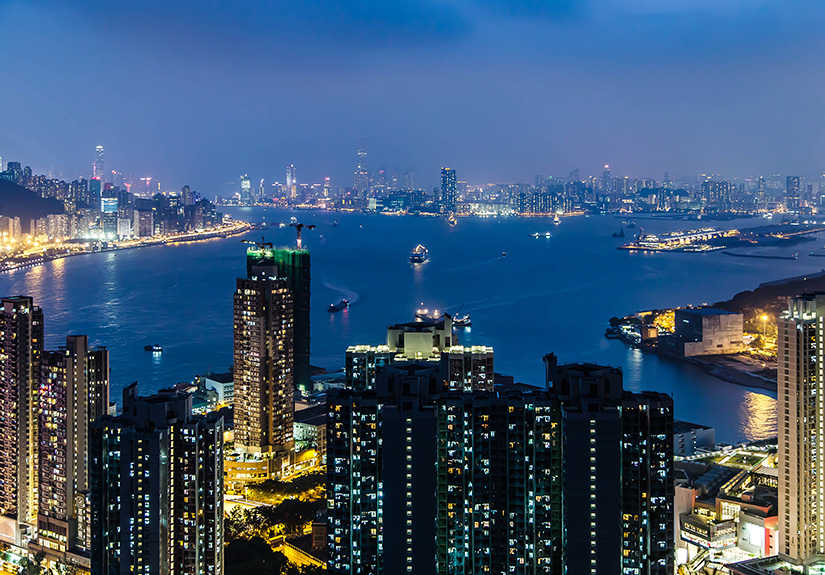
Blue Hour refers to the period of time within less than half an hour immediately after sunset when the sunlight is still there. A splash of warm tone colors can be seen near the horizon during this period of time, and the sky is not totally dark but shows different shades of blue.
Blue Hour with cool color temperature and low lighting contrast
Photos taken at Blue Hour will have a cool hue. Most importantly, the lighting contrast is lower than that at night, making it easier to control the photo’s overall exposure and reveal the details of objects even without being illuminated directly. Besides, since the artificial lighting on the streets are mainly yellowish, which is a complementary color to the bluish sky on the color wheel, this can result in photos with appealing color combination without the need for post-editing.
The below photos were taken at the same spot at different times, on a day where the sun set at around 6:45pm:
The below photos were taken at the same spot at different times, on a day where the sun set at around 6:45pm:
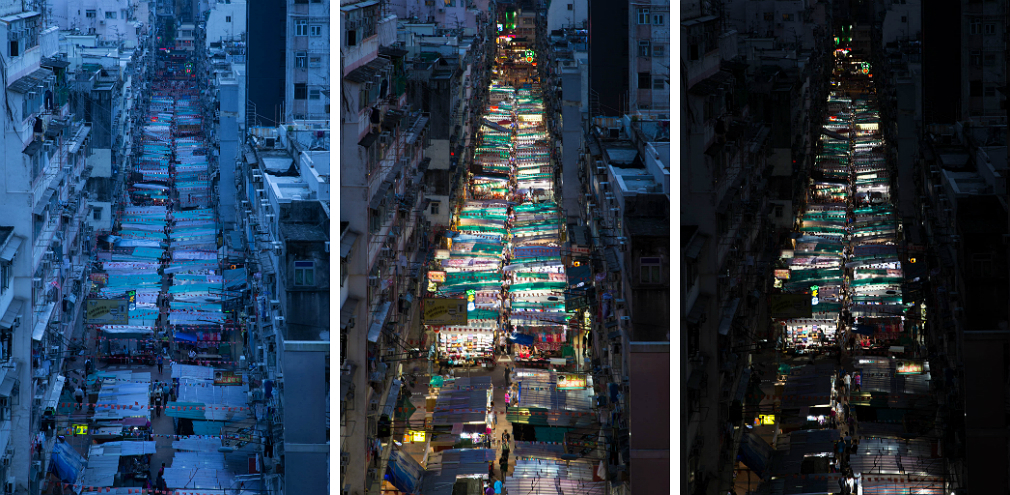
Left: Photo taken at 6:15pm before the sun set. It was taken with a low Kelvin white balance setting deliberately to cast a bluish tint, imitating the cool color temperature effect but not very natural looking.
Middle: Photo taken at 7pm sharp, shortly after the sun set below the horizon. The light is cold during Blue Hour, and details of buildings on both sides were clearly captured as a result of the low lighting contrast.
Right: Photo taken at 7:30pm after the sun set and the sky was in total darkness. We can see that there was big difference in lighting contrast between the street and the buildings on both sides, resulting in blown-out highlights and blocked shadows in the photo.
Total Darkness (after the sun sets for about half an hour)
In general, the sky becomes total darkness half an hour after the sun sets below the horizon. To take photos of brightly lit city nightscape, make sure you mount your camera securely on a tripod. You can also try astrophotography or take photos of the starry sky by checking the moon phase and moonset time in advance and selecting a location to shoot with little light pollution.

Since the light sources are mixed and complicated in the city at night, the nightscape photo taken after darkness may show uneven light distribution if we include both lit up buildings and the dark sky in the composition. The large contrast in lighting will result in lack of details and blown-out highlights or blocked shadows in the photo if we just shoot directly. To resolve this problem, we can use a filter or black card.
Another convenient alternative is to use the camera’s built-in HDR function. By taking multiple images with different exposure settings and merging them into one single photo with high dynamic range, rich details in the shadow area can be retained without having the foreground subject over-exposed.
Another convenient alternative is to use the camera’s built-in HDR function. By taking multiple images with different exposure settings and merging them into one single photo with high dynamic range, rich details in the shadow area can be retained without having the foreground subject over-exposed.

Take EOS 5D Mark III as an example. We can activate HDR mode from the menu and select the dynamic range from Auto, ±1EV, ±2EV and ±3EV. ±3EV is for scenes with great lighting contrast while ±1EV is for scenes with mild contrast. In addition, different image effects are available for your selection according to shooting needs, including Natural, Art Standard, Art Vivid, Art Bold and Art Embossed. In general, the first three are most commonly used.

Shoot the Right Topics at the Right Time
Since the lighting contrast during Blue Hour is lower than that at night, making it easier to reveal the details of the foreground subjects, and the cool light complements well with the yellowish articfical lighting on the streets, it is a perfect time to take nighttime images that include substantial forground elements such as streetscape, cityscape with buildings or countryside landscape. On the contrary, after the sky turns into total darkness, it is good for starry sky photos where the foreground elements take up only a small portion of area in the composition or silhouette shots which take advantages of the large lighting contrast. Of course, every rule is breakable. You can take the above advice for reference, but only understanding the characteries and change of light at different period of times will give you total freedom to create the photos as desired.

Want to capture the beautiful night with ease? Canon’s Night Scenic Photography Course will equip you with knowledge of low-light shooting, nighttime photography theory and various shooting skills such as manual exposure through hands-on practice at Central’s Star Ferry, under the guidance of professional photographers. Participants can also learn about the post production process useful for editing nighttime images.
Enroll Now
Enroll Now
Related Articles
Known as the “Pearl of the Orient”, Hong Kong has one of the most beautiful city nightscape in the world! To many photo beginners, nightscape photography is a rather difficult topic to master. Check out this article for a complete beginner’s guide covering tips on camera settings...