The Unexpectedly Useful Tool for Photography - Your Hands
In addition to cameras and lenses, photography related tools come in all sorts of types. Some of them are even more expensive than the camera. In fact, every one of us already owns a very handy tool for photography – your hands! And most importantly, it’s free!
Identify the Direction of Light
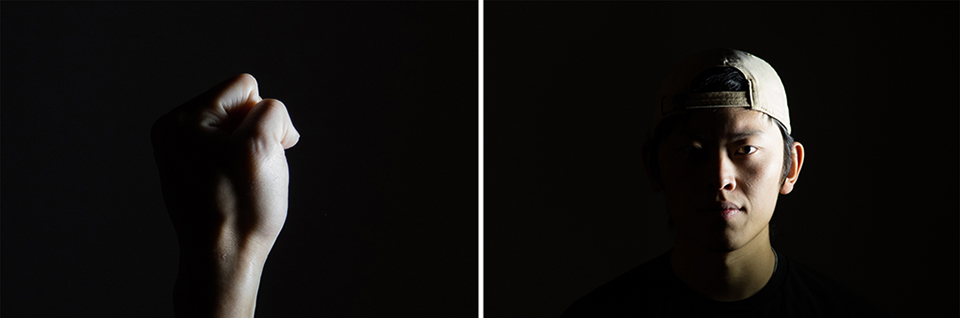
Controlling the light source is one important key to photography. Before we press the shutter, we need to test the direction of light. But sometimes it’s impossible to ask your subject to stand still for you to take a couple of test shots. Apart from identifying the light source with your bare eyes, you can use your hands to test. See below for method:
Hold a fist with the protruding joint connecting your thumb and index finger to your palm facing yourselves (the lens). Then imagine this is the nose, and the fist is a head.
Top light
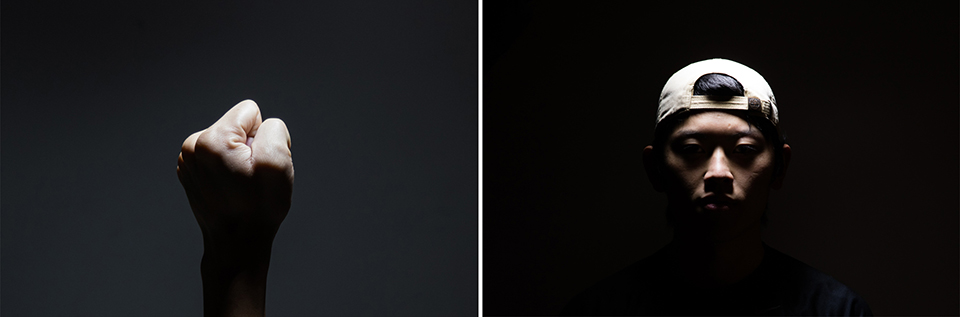
Side light
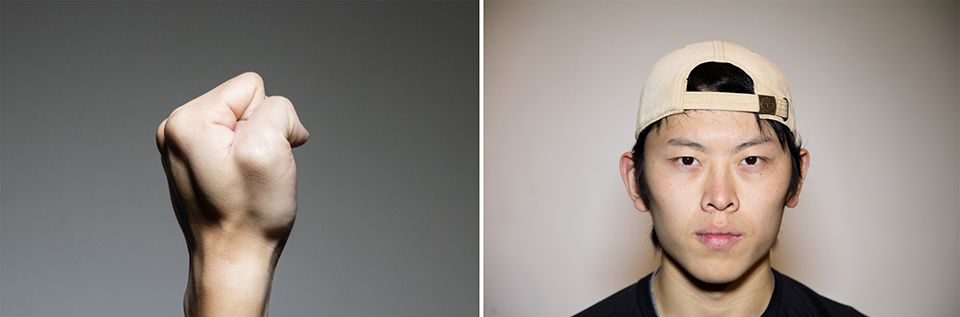
Front light
Since the human face is three-dimensional, this fist test is a better way than using the bare eyes to identity the direction of light and can help beginners understand better how the highlight and shadow cast on a human face. This is a very simple but useful skill. We can use it in actual portrait shooting or for practice.
Tips You May Not Know – Hand as Gary Card for Metering
There are a number of ways to do the metering in general – estimate with your bare eyes, rely on the camera’s auto metering function, or use a gray card. In situation where a gray card cannot be found, you can use your hand instead. Follow the steps below to “turn” your hand into a gray card:
1. Have a gray card and your hand ready.
2. In an environment with stable brightness, set your camera to M mode and use Spot Metering. Put the metering spot on the gray card. Make sure that the spot is covered by the gray card completely.
3. Adjust the ISO, shutter speed or aperture freely until the camera’s light meter points to “0”. This means the picture shot on this setting is not over-exposed, nor under-exposed.

4. Keep the camera’s setting unchanged. Replace the gray card with your hand, then take a look at the light meter’s reading.

5. Let’s say the light meter’s reading is now “-2/3”. This means there is a difference of “-2/3” EV between your palm and the gray card. Since your palm’s color won’t change a lot, you can calculate the exposure difference and substitute the gray card with your palm for metering in the actual shooting.
With your palm “turns” into the gray card, you can follow the steps below to do the metering:
1. Place your palm at where the subject stands to ensure that it receives the same amount of light as the subject (that’s why it’s hard to use your palm or a gray card for metering when taking landscape photos as the subject is far away). For portrait photography, the subject’s face is the spot for metering.

2. Assuming that M mode and Spot Metering are used, put the metering spot at your palm and make sure that your palm covers the spot entirely. Then adjust the exposure value to “-2/3” (assuming that the exposure difference is “-2/3” between your palm and the gray card) and you’ll get the accurate exposure.
It’s as easy as that. Try it next time!